I got some stuff done on my FOUR day weekend.
Mainly valve cover gaskets (driveways everywhere thank me), repainting the valve covers and a few other things under the engine bay.
As I started disassembly, I quickly found an annoying surprise.
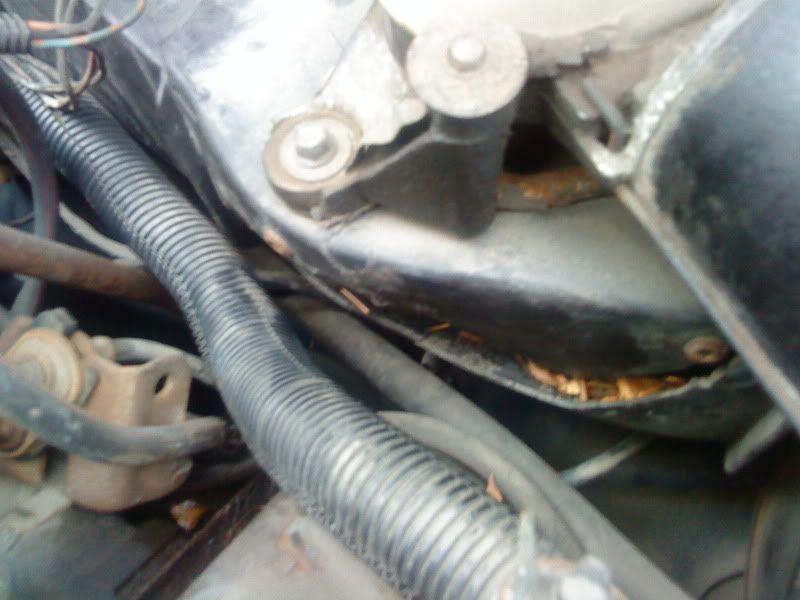
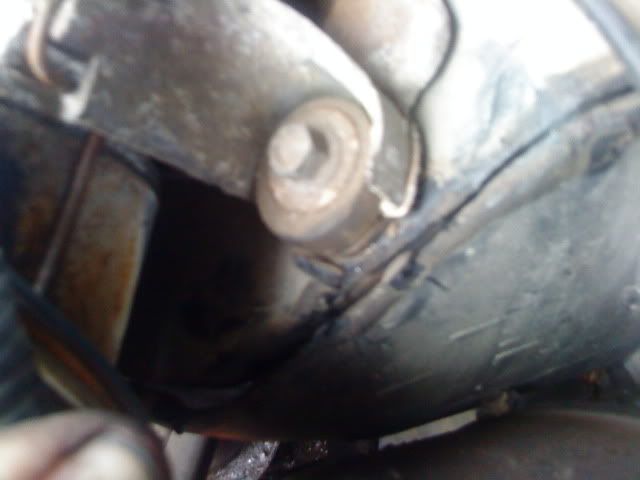
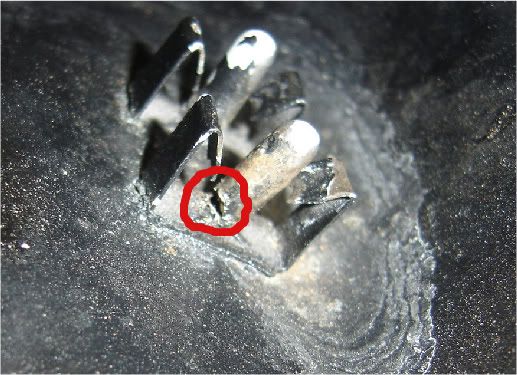
Cracked..housing thingamabob. It's been repaired at some point, but cracked even further. Obviously though, since it's been repaired without my knowledge, it's been like that for years. I don't know what it affect, other than my wiper hitting the windsheild trim on high speed, which I had already noticed.
What all is involved in this? I'm not quite sure how to disconnect the wiper motor from the wiper assembly, and I could only find 2 bolts on the housing itself, which doesn't seem right. I'm assuming I can swap this from any -91 panther?
The thing that struck me was just how many things I have NO idea the function of under the hood. Lots of weird stuff with vacuum lines and wires going to them.
Maybe some of you can give me an idea what these things do for future reference:
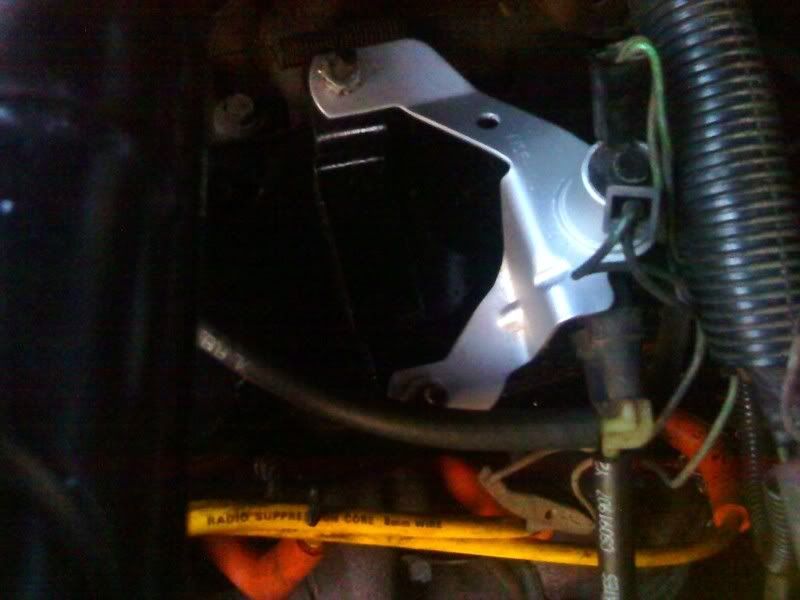
this thing mounted to the driver's valve cover. 2 vacuum lines going to it, one obviously to the vacuum motor near the throttle linkage (I can't get a clear description of this thing's function either), and the other going to somewhere over on the passenger side of the engine bay. It also attatches to a funky plastic vacuum cannister that, until I recently found pics of a super-mint 351 engine bay, I had assumed was some mechanic's hack job.
I have no idea where the electrical connectors go.
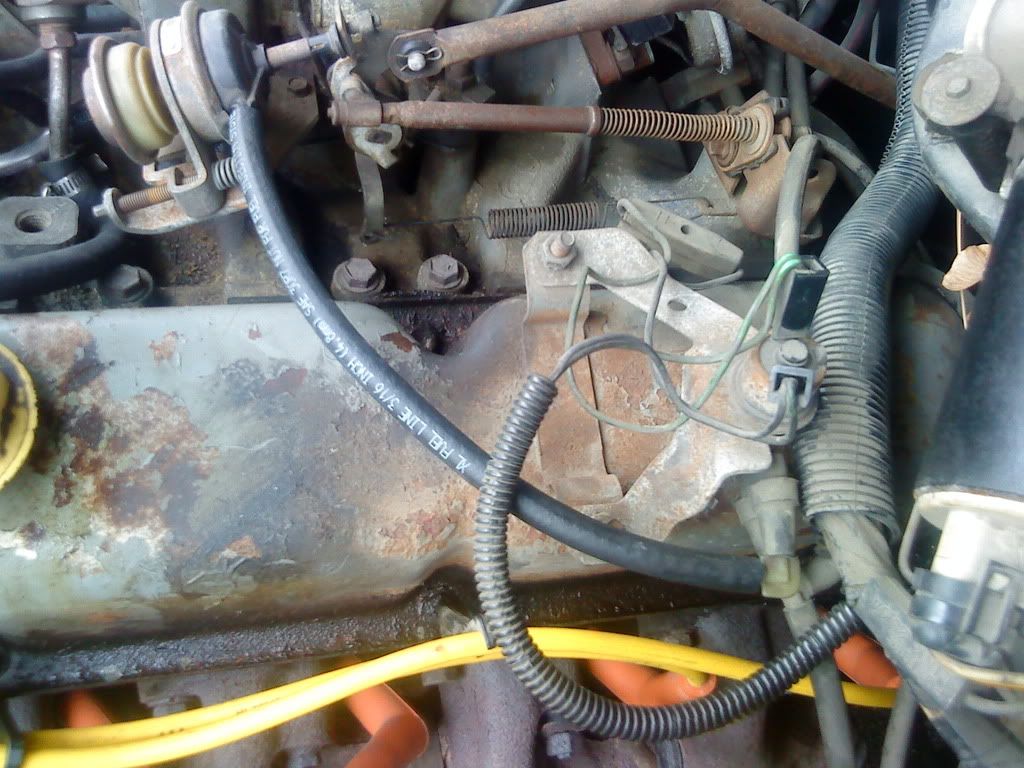
I ended up painting it with silver krylon indoor/outdoor paint. I wasn't expecting much but it came out looking GREAT. It dried in under 10 minutes, refused to run (I tried) and was thin enough to let the part number still show.
These pics also give you an idea just how rusty and oily the valve covers were.
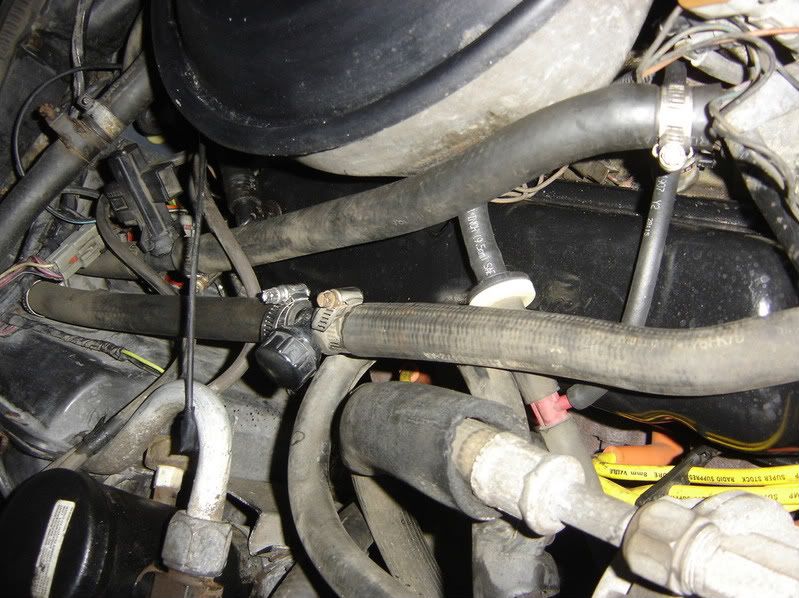
This is some sort of regulator for the line from the evap to the carb. There's an electrical connector to it that I believe went into the same loom that the coolant sensors and main carb connection go to.
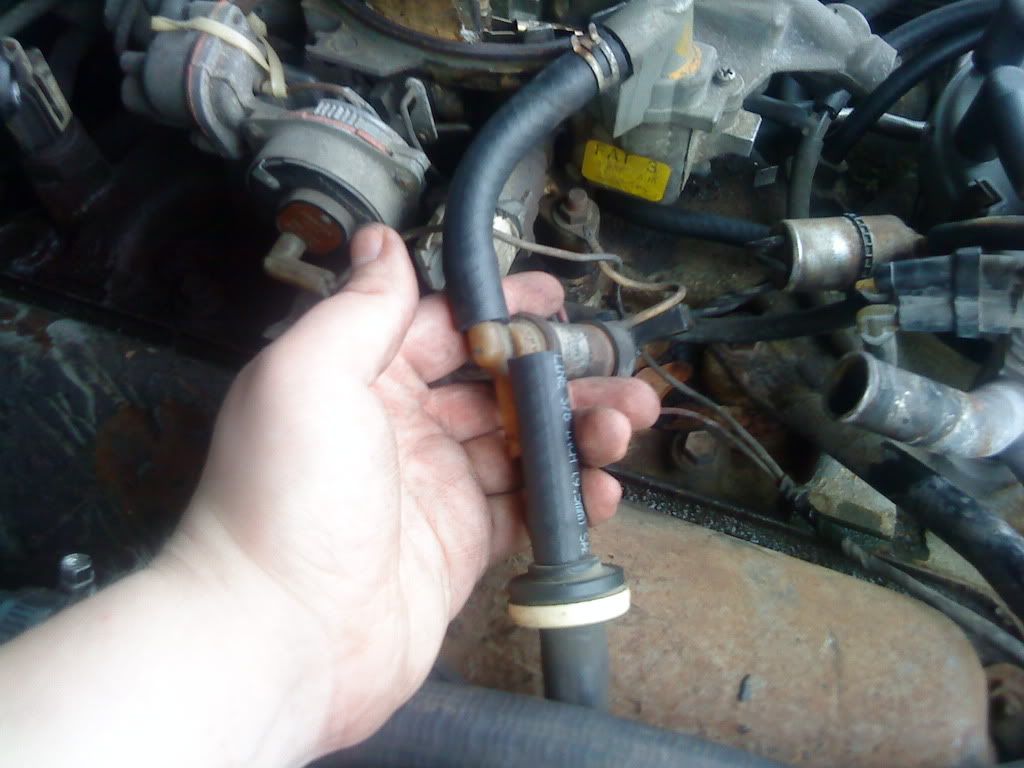
This weird thing had a vacuum line teeing into the evap hose that the above goes to, and only had the one wire. The other end of vacuum just went to manifold or right at the carb base.
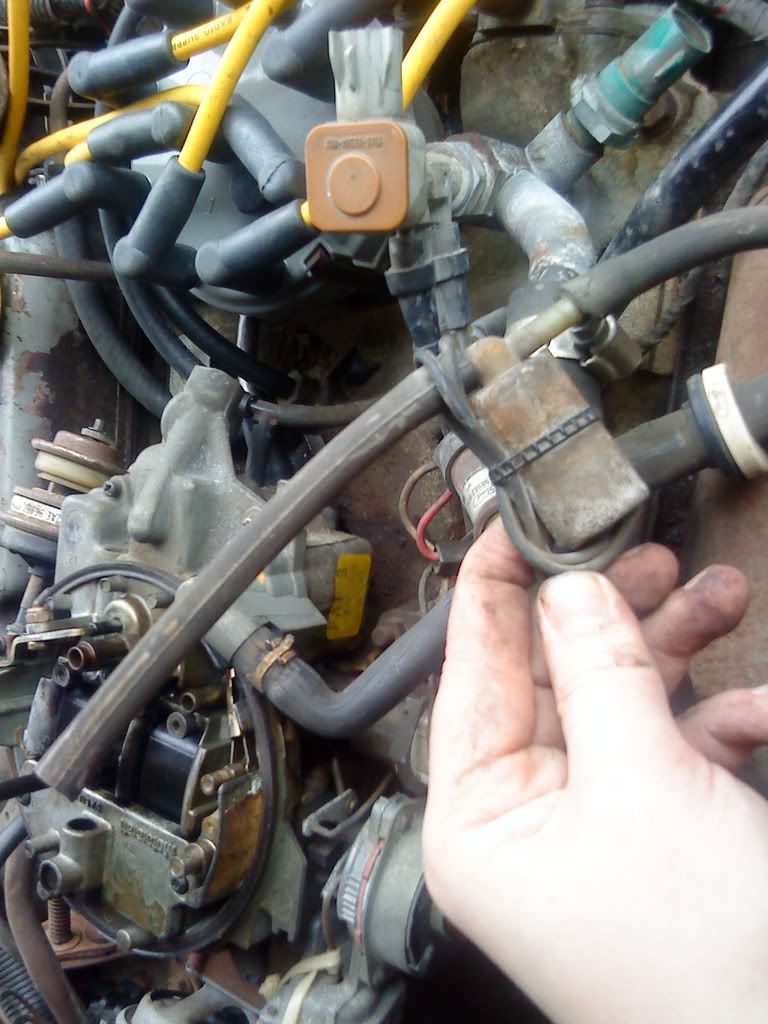
another shot of the evap stuff, this time hooked up and with new lines
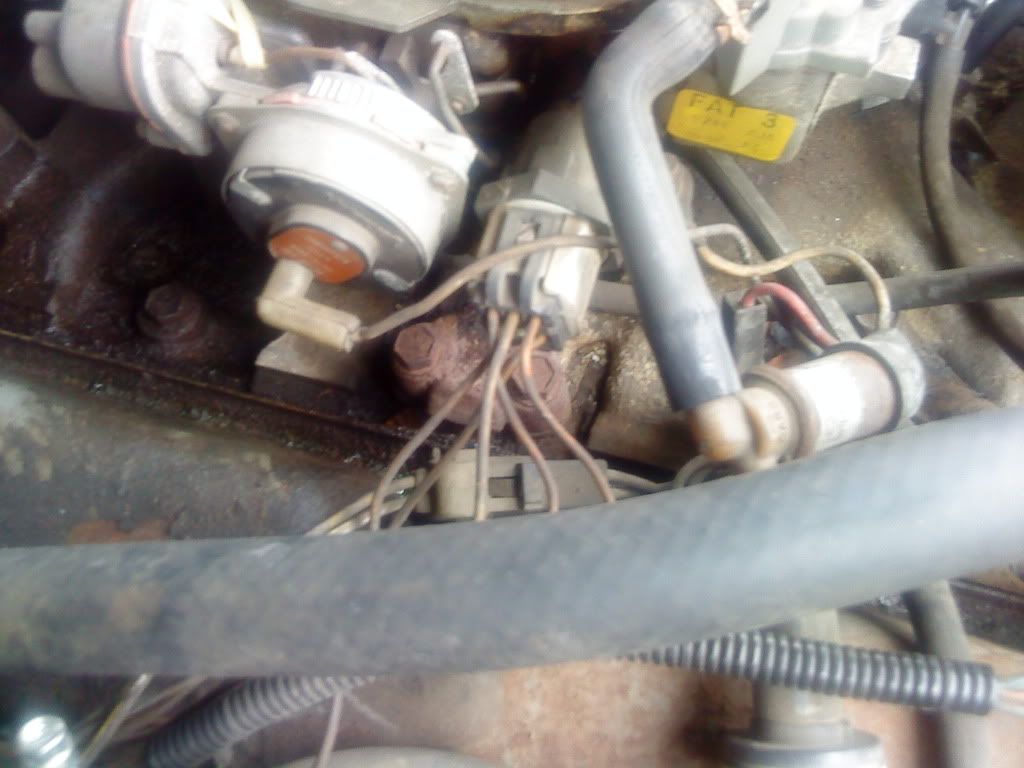
This coolant stuff has me confused. I get the need for one coolant temp sensor (though I'm not sure what the computer would do with that info), but I don't understand why there are two, or why there's a vacuum hookup.
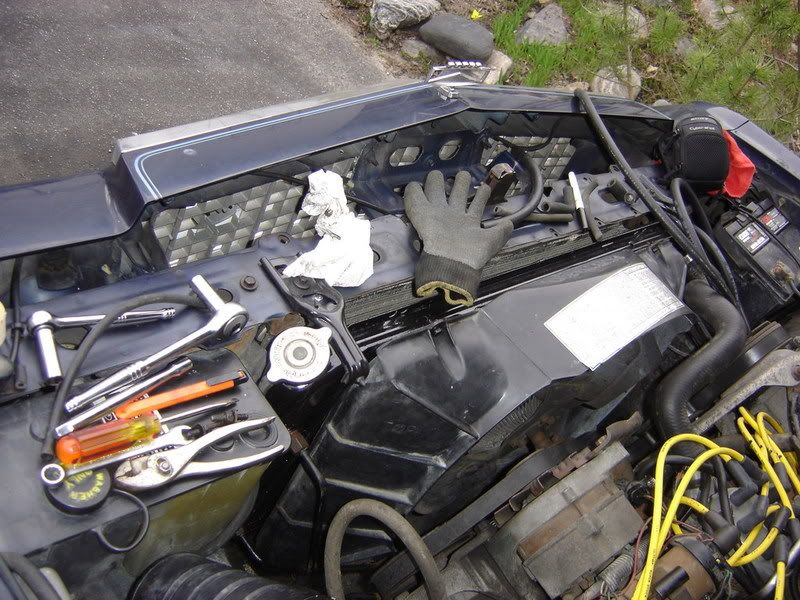
My toolbox. heh, get it, toolBOX? heh. ok, you can stop throwing the tomatoes now.
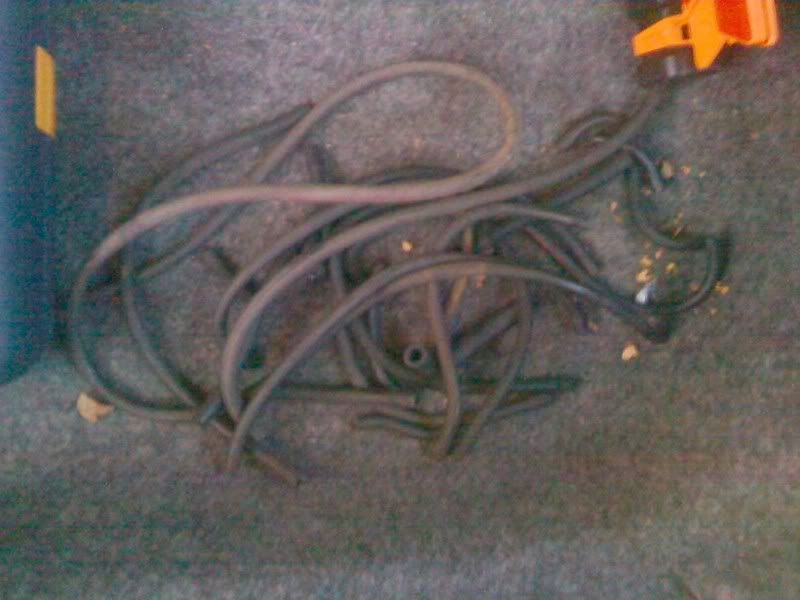
You can see some of the vacuum lines I've replaced. Eventually I'll have all-new lines.
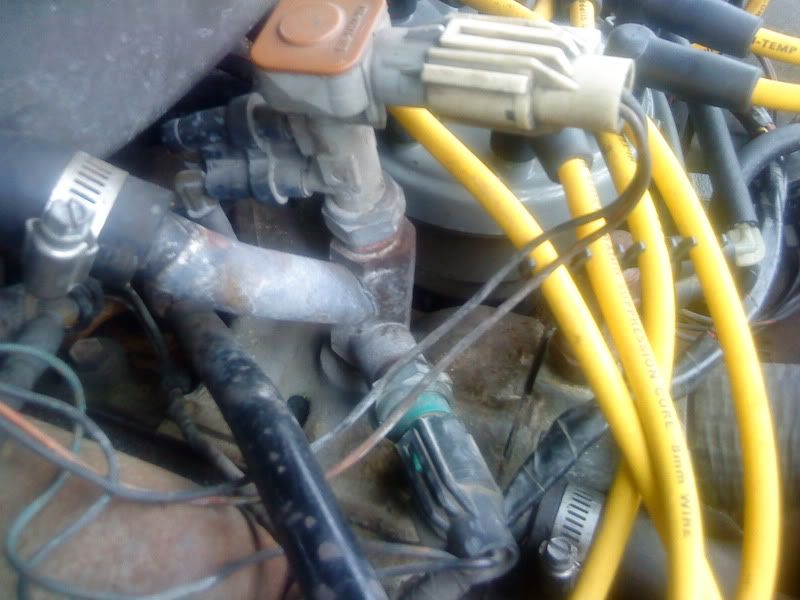
a shot of all the nasty oil slathered everywhere from the leaky gasket. Yet more coolant temp stuff, I think. There seem to be at least 4 coolant sensors on this engine, weird.
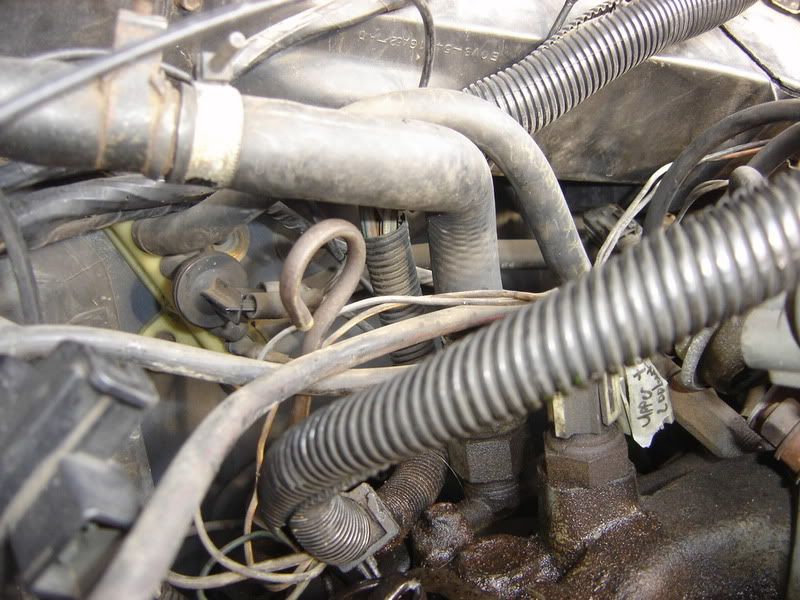
valve cover off. Sludgy? doesn't look too bad for the mileage.
You can see the oil alllll the way back to the heat sheilding in the transmission tunnel, as well as on the exhaust manifold. From about 15-30 minutes into every drive, it would smell of burning oil. Pleasant.
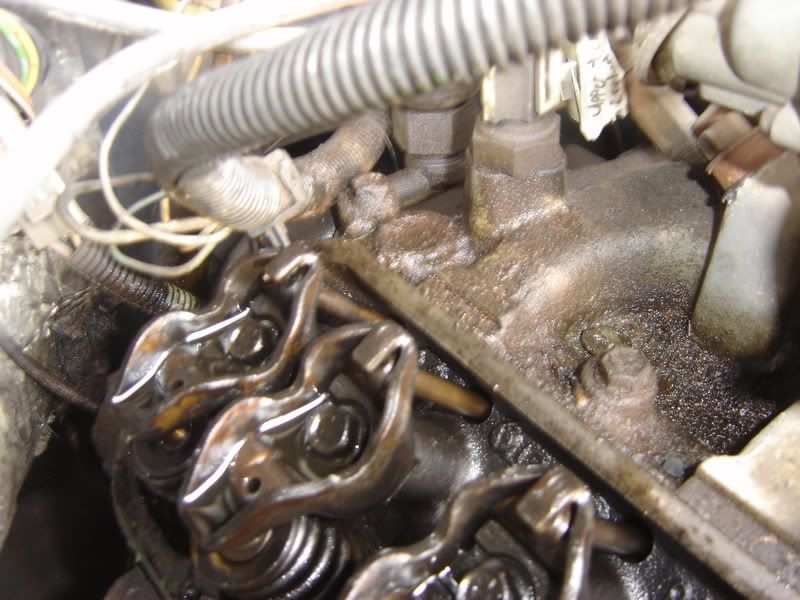
more sludginess, some increasingly knarled hands, and an emissions device looking a bit like a muppets character
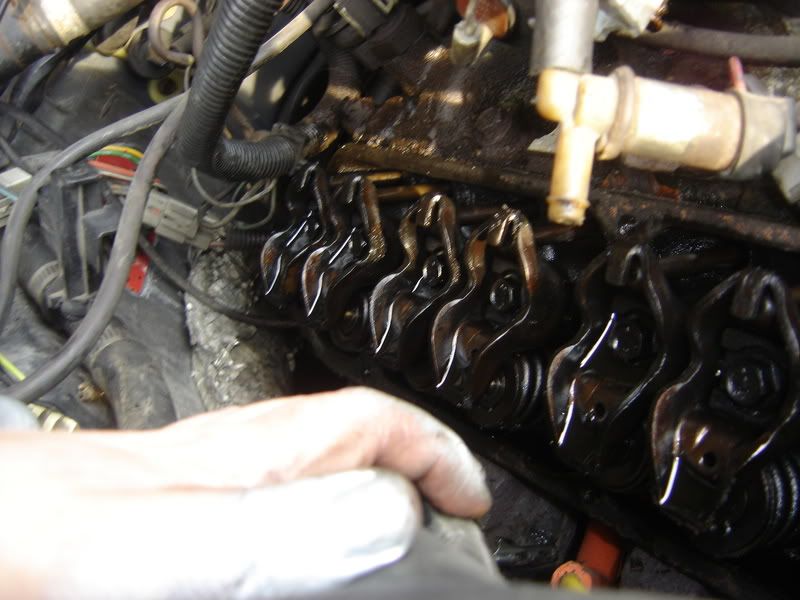
other valve cover off. you can see where the gasket was leaking, and where it was getting onto the exhaust
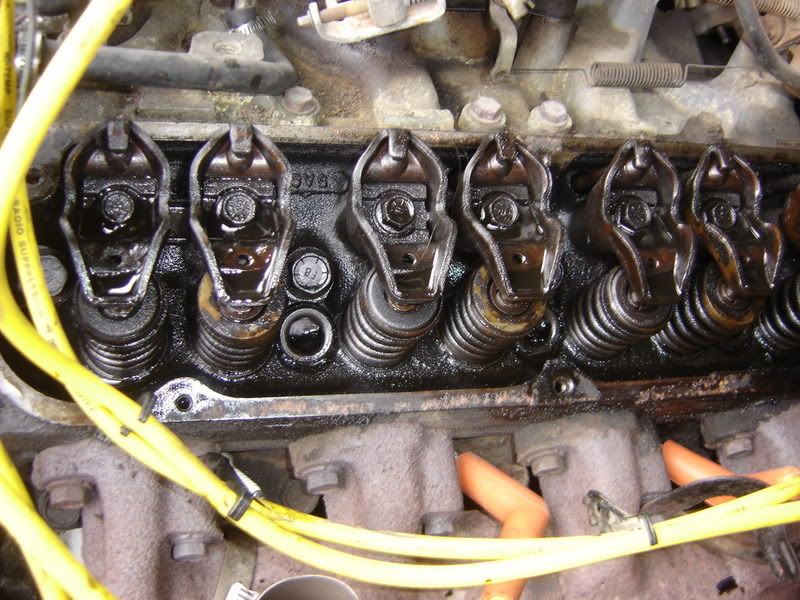
I used fel-pro cork gaskets and some cheap (tremclad?) high-heat gloss black enamel.
It came out fairly well, but since I had to put the covers on before the paint could be cured by the heat of the engine, they got scuffed up a bit. Overall though, a shit ton better than the mess of rust and oil.
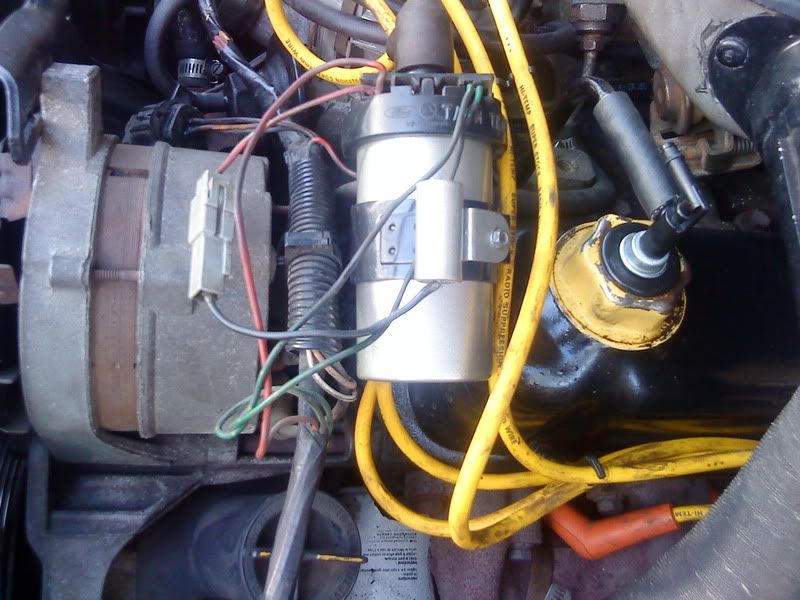
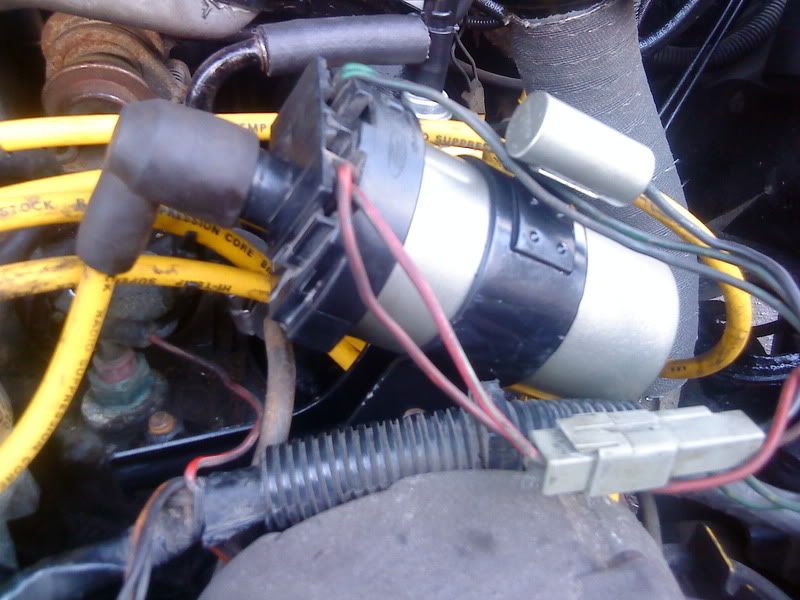
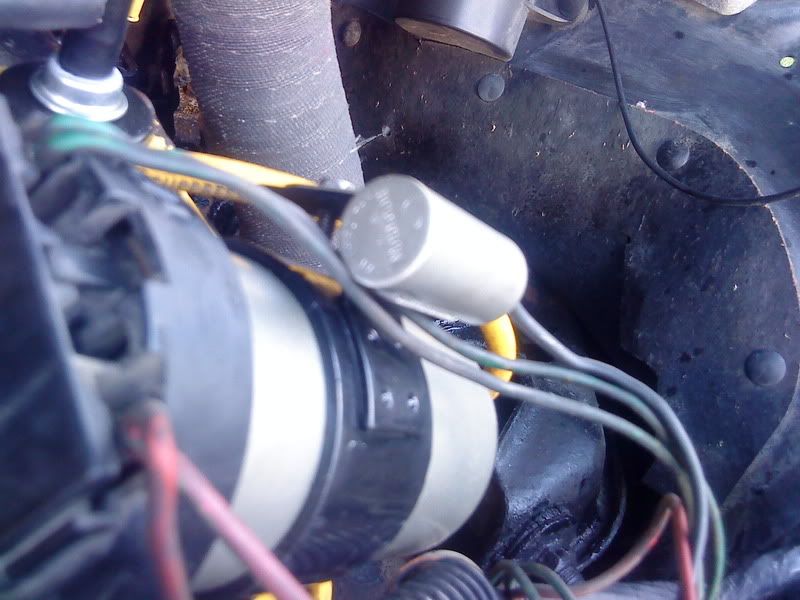
left side also shows the quick job I did on the ballast resistor with some tremclad semi-gloss.
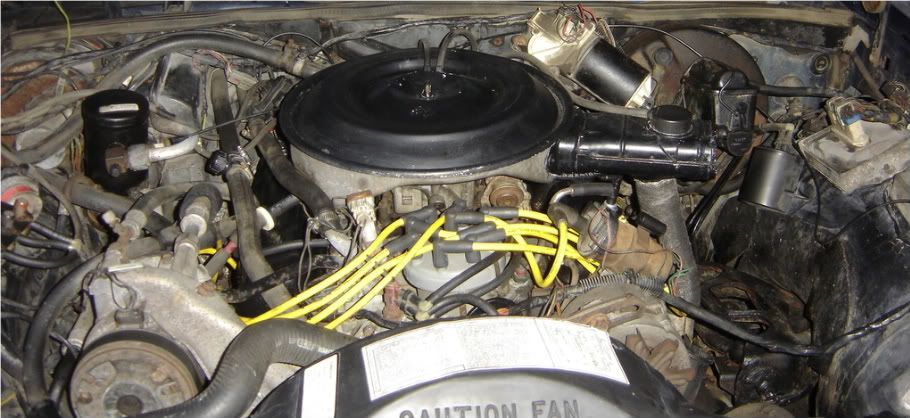
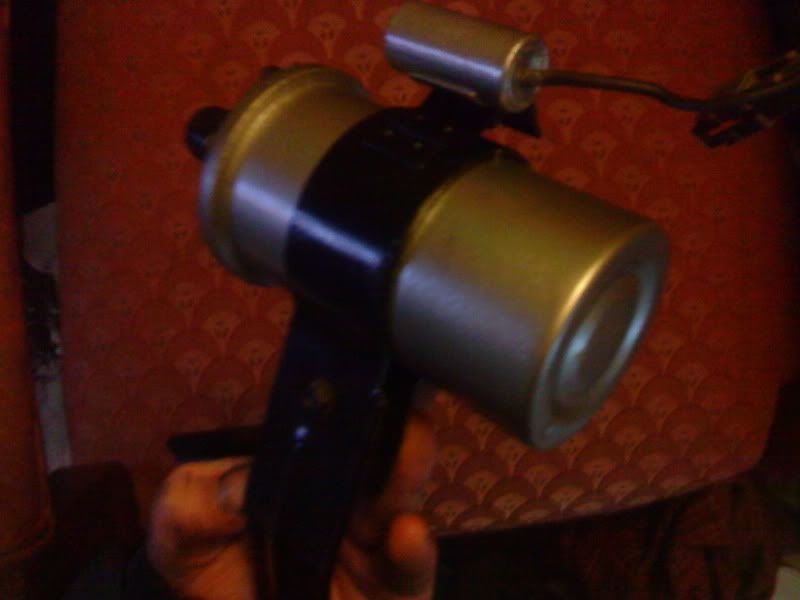
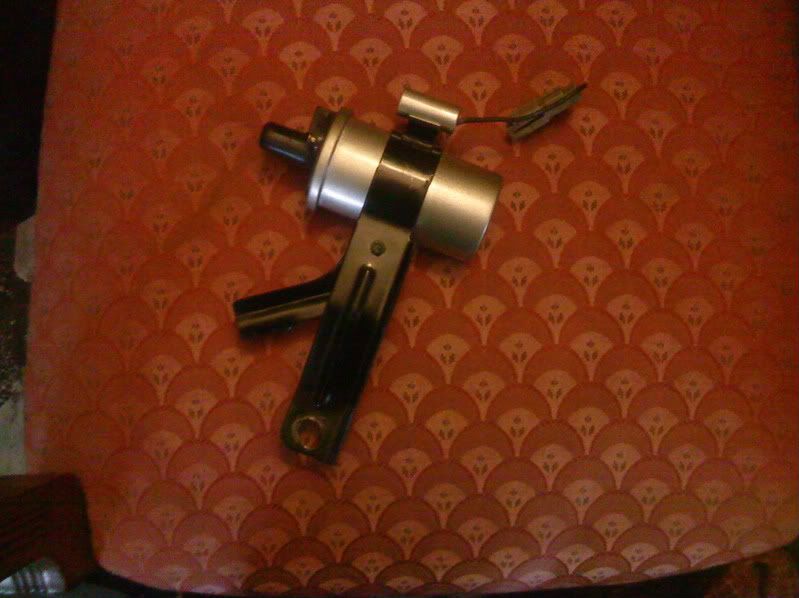
If the silver paint on the thing on the valve cover (I'll get a pic of it this week) holds up, I'll probably use the same paint on the rest of the coil, the rusted band on the alternator, and a few other bits.
I'm also going to paint a few more things with the black semi-gloss tremclad rust paint. I've already done the master cylinder (don't expect that to last), a/c cannister, wiper motor, and a lot of the lines (tranny, brake, etc.). I'll go over most of that stuff again.
I'm also going to try and hit the oil cap with some yellow high-heat paint if I can find it.
So if anyone can give input on what those things I currently refer to as "doohickies" do, I'd be thrilled.
I've had a minor infusion of cash, so hopefully this will be getting some more substantial updates soon.
Next steps:
Vacuum lines. That'll hopefully be done in the next week or two. Somehow ALL the autoparts stores are out of 3/16 line. Yet again Hotspot is by far the cheapest at 70 cents a foot. These are the guys who, after an initial screwup, were waiting with the right part when I came in to return a rad, and still manage to undercut most other places by over 100 bucks. Great organizations, great prices, and they don't seem to sell much in the way of white-box off-shore no-name crap either.
Rag joint rebuild. Thanks for the input Scottmang and Thain.
Rotors and bearings up front, maybeee a full brake rebuild including rear axle bearings, seals and lines.
Carb rebuild. If anyone has the Ford Rotunda tool kit for this, PM me. This might be an excercise in futility. If there isn't a noticeable improvement in overall driveability and power, I'll probably go to the 4-barrel setup discussed here: http://www.grandmarq.net/vb/showthread.php?t=33429
Re-wiring stereo and maybe picking up front speakers.
Tracking down the ever-annoying exhaust leak
A few minor appearance things I have in mind
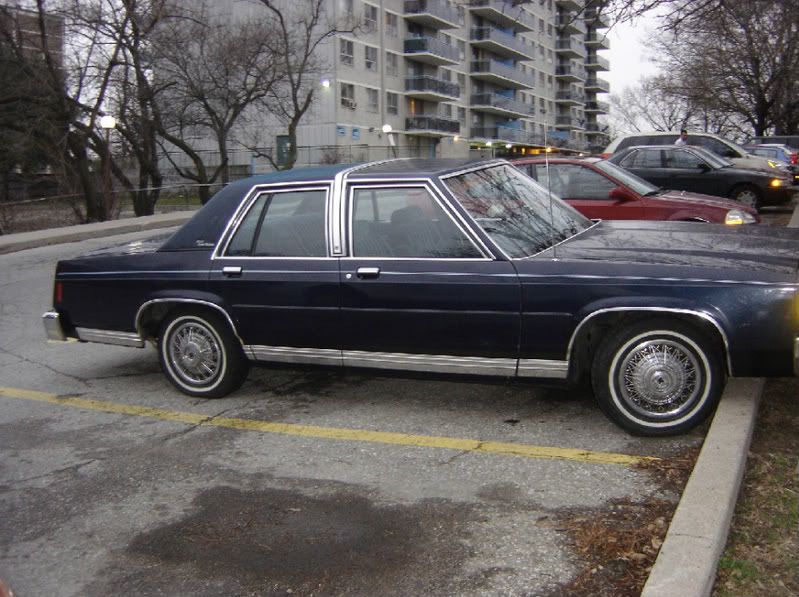
I'll also be getting the nice red center caps that Monterey1962 sold me in the next little while, so hopefull this is the last ever picture of Sophie with capless wires:
Mainly valve cover gaskets (driveways everywhere thank me), repainting the valve covers and a few other things under the engine bay.
As I started disassembly, I quickly found an annoying surprise.


Cracked..housing thingamabob. It's been repaired at some point, but cracked even further. Obviously though, since it's been repaired without my knowledge, it's been like that for years. I don't know what it affect, other than my wiper hitting the windsheild trim on high speed, which I had already noticed.
What all is involved in this? I'm not quite sure how to disconnect the wiper motor from the wiper assembly, and I could only find 2 bolts on the housing itself, which doesn't seem right. I'm assuming I can swap this from any -91 panther?
The thing that struck me was just how many things I have NO idea the function of under the hood. Lots of weird stuff with vacuum lines and wires going to them.
Maybe some of you can give me an idea what these things do for future reference:
this thing mounted to the driver's valve cover. 2 vacuum lines going to it, one obviously to the vacuum motor near the throttle linkage (I can't get a clear description of this thing's function either), and the other going to somewhere over on the passenger side of the engine bay. It also attatches to a funky plastic vacuum cannister that, until I recently found pics of a super-mint 351 engine bay, I had assumed was some mechanic's hack job.
I have no idea where the electrical connectors go.

I ended up painting it with silver krylon indoor/outdoor paint. I wasn't expecting much but it came out looking GREAT. It dried in under 10 minutes, refused to run (I tried) and was thin enough to let the part number still show.
These pics also give you an idea just how rusty and oily the valve covers were.
This is some sort of regulator for the line from the evap to the carb. There's an electrical connector to it that I believe went into the same loom that the coolant sensors and main carb connection go to.

This weird thing had a vacuum line teeing into the evap hose that the above goes to, and only had the one wire. The other end of vacuum just went to manifold or right at the carb base.

another shot of the evap stuff, this time hooked up and with new lines

This coolant stuff has me confused. I get the need for one coolant temp sensor (though I'm not sure what the computer would do with that info), but I don't understand why there are two, or why there's a vacuum hookup.

My toolbox. heh, get it, toolBOX? heh. ok, you can stop throwing the tomatoes now.
You can see some of the vacuum lines I've replaced. Eventually I'll have all-new lines.

a shot of all the nasty oil slathered everywhere from the leaky gasket. Yet more coolant temp stuff, I think. There seem to be at least 4 coolant sensors on this engine, weird.

valve cover off. Sludgy? doesn't look too bad for the mileage.
You can see the oil alllll the way back to the heat sheilding in the transmission tunnel, as well as on the exhaust manifold. From about 15-30 minutes into every drive, it would smell of burning oil. Pleasant.

more sludginess, some increasingly knarled hands, and an emissions device looking a bit like a muppets character

other valve cover off. you can see where the gasket was leaking, and where it was getting onto the exhaust

I used fel-pro cork gaskets and some cheap (tremclad?) high-heat gloss black enamel.
It came out fairly well, but since I had to put the covers on before the paint could be cured by the heat of the engine, they got scuffed up a bit. Overall though, a shit ton better than the mess of rust and oil.

left side also shows the quick job I did on the ballast resistor with some tremclad semi-gloss.

If the silver paint on the thing on the valve cover (I'll get a pic of it this week) holds up, I'll probably use the same paint on the rest of the coil, the rusted band on the alternator, and a few other bits.
I'm also going to paint a few more things with the black semi-gloss tremclad rust paint. I've already done the master cylinder (don't expect that to last), a/c cannister, wiper motor, and a lot of the lines (tranny, brake, etc.). I'll go over most of that stuff again.
I'm also going to try and hit the oil cap with some yellow high-heat paint if I can find it.
So if anyone can give input on what those things I currently refer to as "doohickies" do, I'd be thrilled.
I've had a minor infusion of cash, so hopefully this will be getting some more substantial updates soon.
Next steps:
Vacuum lines. That'll hopefully be done in the next week or two. Somehow ALL the autoparts stores are out of 3/16 line. Yet again Hotspot is by far the cheapest at 70 cents a foot. These are the guys who, after an initial screwup, were waiting with the right part when I came in to return a rad, and still manage to undercut most other places by over 100 bucks. Great organizations, great prices, and they don't seem to sell much in the way of white-box off-shore no-name crap either.
Rag joint rebuild. Thanks for the input Scottmang and Thain.
Rotors and bearings up front, maybeee a full brake rebuild including rear axle bearings, seals and lines.
Carb rebuild. If anyone has the Ford Rotunda tool kit for this, PM me. This might be an excercise in futility. If there isn't a noticeable improvement in overall driveability and power, I'll probably go to the 4-barrel setup discussed here: http://www.grandmarq.net/vb/showthread.php?t=33429
Re-wiring stereo and maybe picking up front speakers.
Tracking down the ever-annoying exhaust leak
A few minor appearance things I have in mind
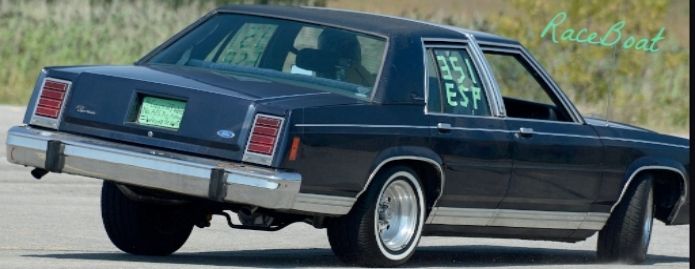
I'll also be getting the nice red center caps that Monterey1962 sold me in the next little while, so hopefull this is the last ever picture of Sophie with capless wires:





Comment