 |
Announcement
Collapse
No announcement yet.
My Ma's 1986 Crown Victoria LX
Collapse
X
-
It's been a while since I updated this thread. The engine and trans are in, more than less permanently. Had to mod the driver-side header to clear the cross member (squishing, hammering, and welding). Passenger side fits just fine even with the starter installed. Installed a bus bar on the passenger side fender to hook all of the extras to. Ran into a small (?) problem with the trans; I lost the VSS. And I don't know what size bolt was used to fasten it. I'm thinking 3/16" or a M5. I have M5 bolts to test; but I have to search for the 3/16" bolt as nobody seems to have that size. If any one of you know what size bolt is used, please let me know?
-
That is an option. I am going to cut that clip part off below the tube section of the seal and see if I can extend it that way. If that doesn't work; I will try splicing it.
Leave a comment:
-
Can you join it not at the 90? Or do they make a corner in that profile that can be spliced in? Splicing straight sections is easy, all you need is a bit of rubber hose that fits inside the tube part of the seal and a bit of whatever adhesive snot you like to connect the ends together with the hose as the "connector". You can do a 90, but you'll need to accurately cut the ends at a 45 and butt them together with some sort of glue just on the edge.
Leave a comment:
-
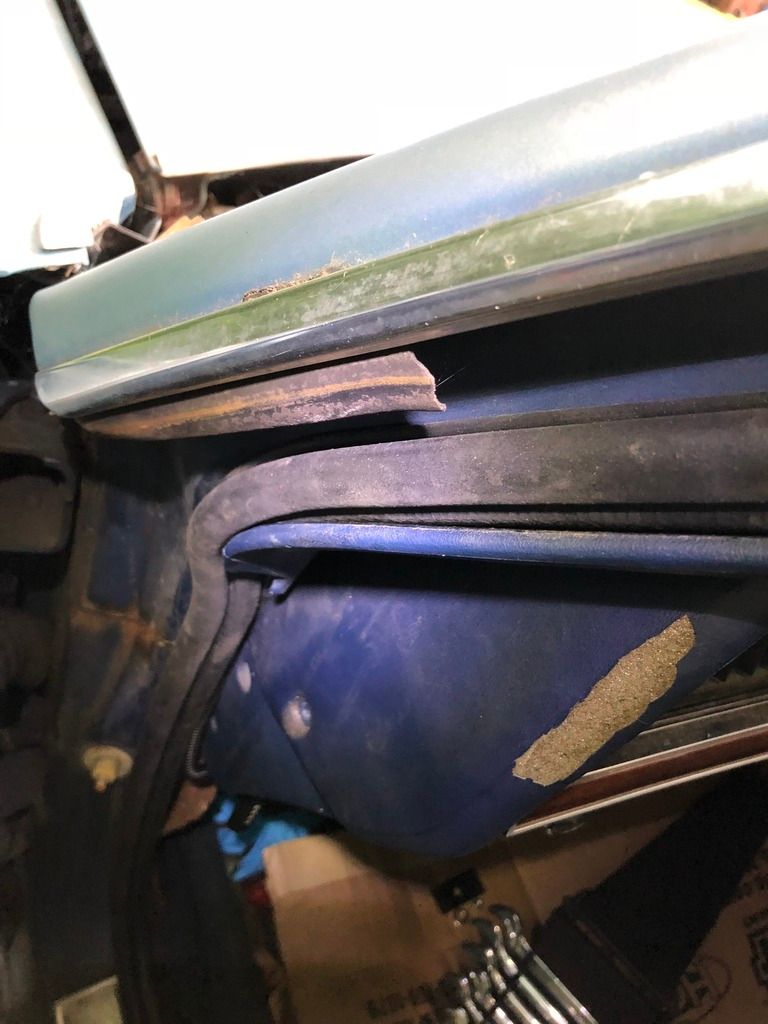
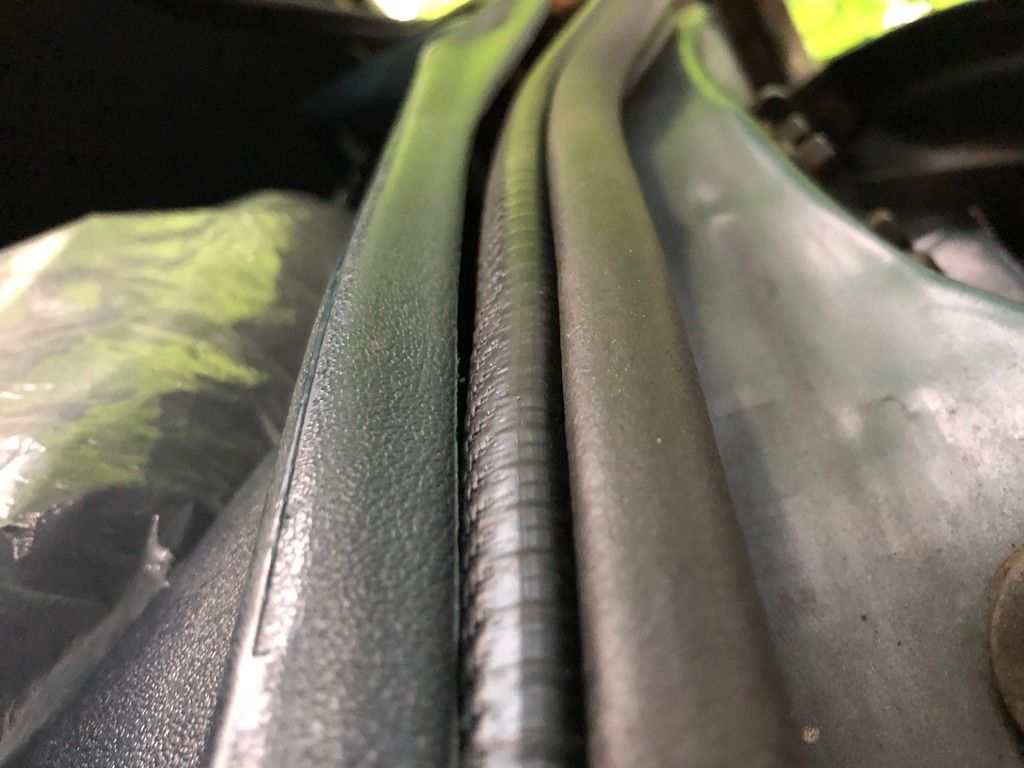
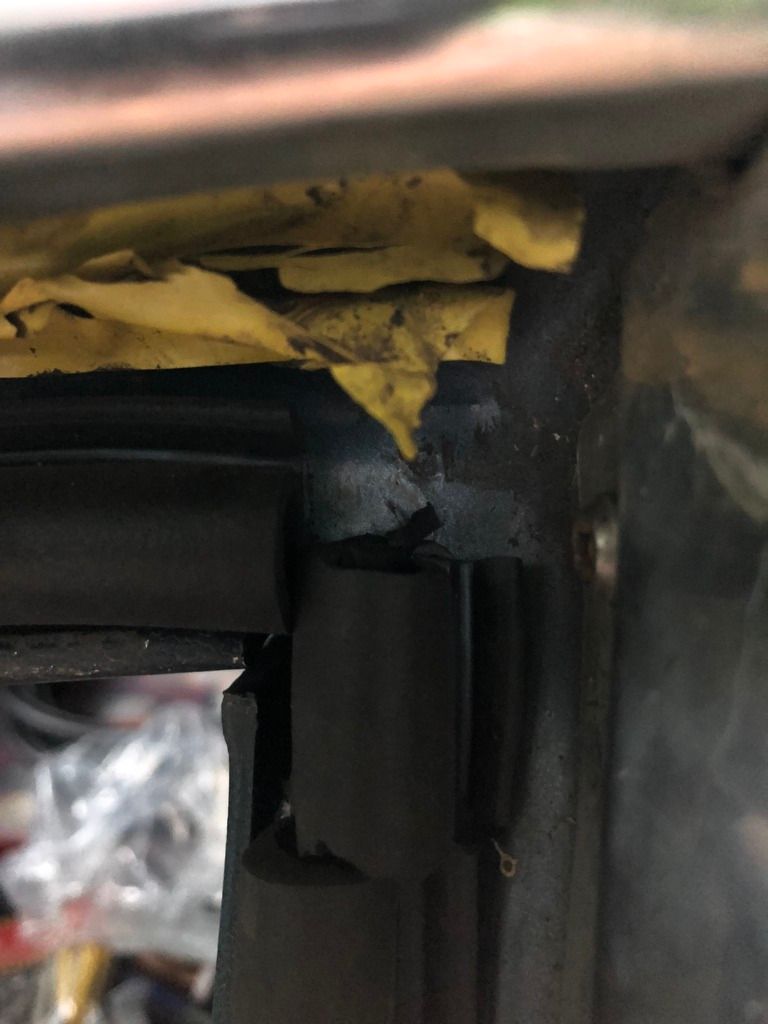
Installed the new door seal on Saturday. Almost immediately realized a snag when removing the old door seal. The old door seal is 1-piece and the new door seal has a beginning and end. The top rear corner of the door is a 90* angle that I couldn't get the door seal into. Upon arriving at work today, I thought of something that might work. I will measure the section that I need to replace and trim the clipping part off of the door seal; that way it extends all the way up to the other section of door seal. Hoping that it covers that corner. If not, I have foaming insulation that I might spray in there to fill in gaps and such. As it sits, the door closes tighter now as the new door seal is a bit more firm.
Leave a comment:
-
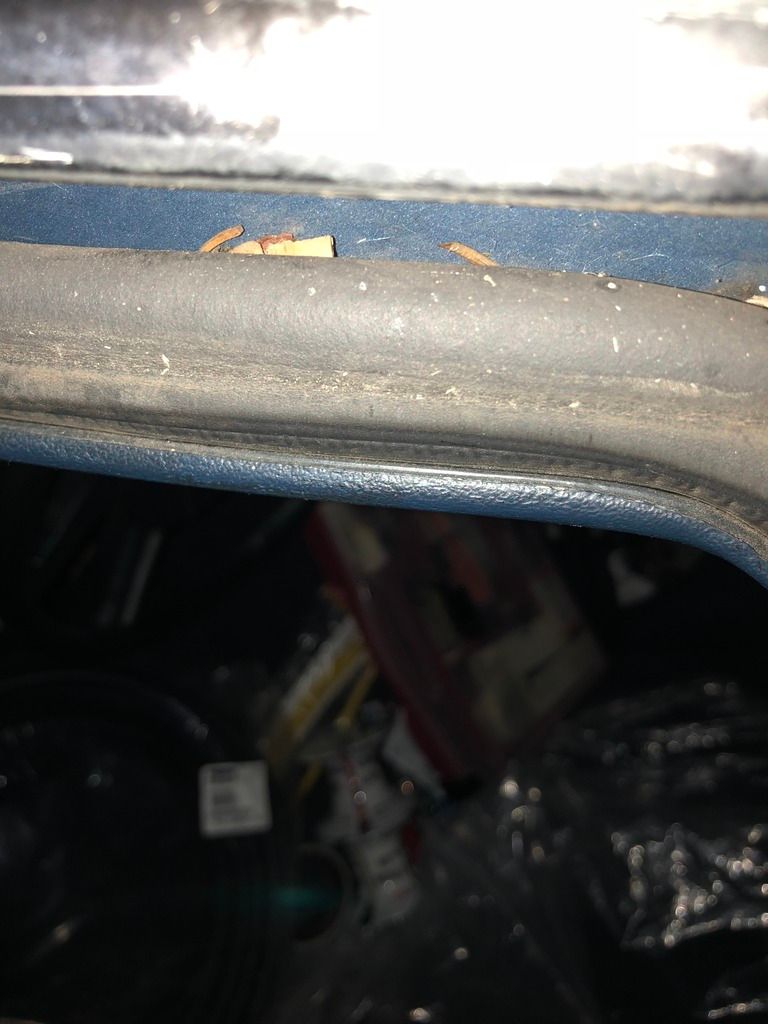
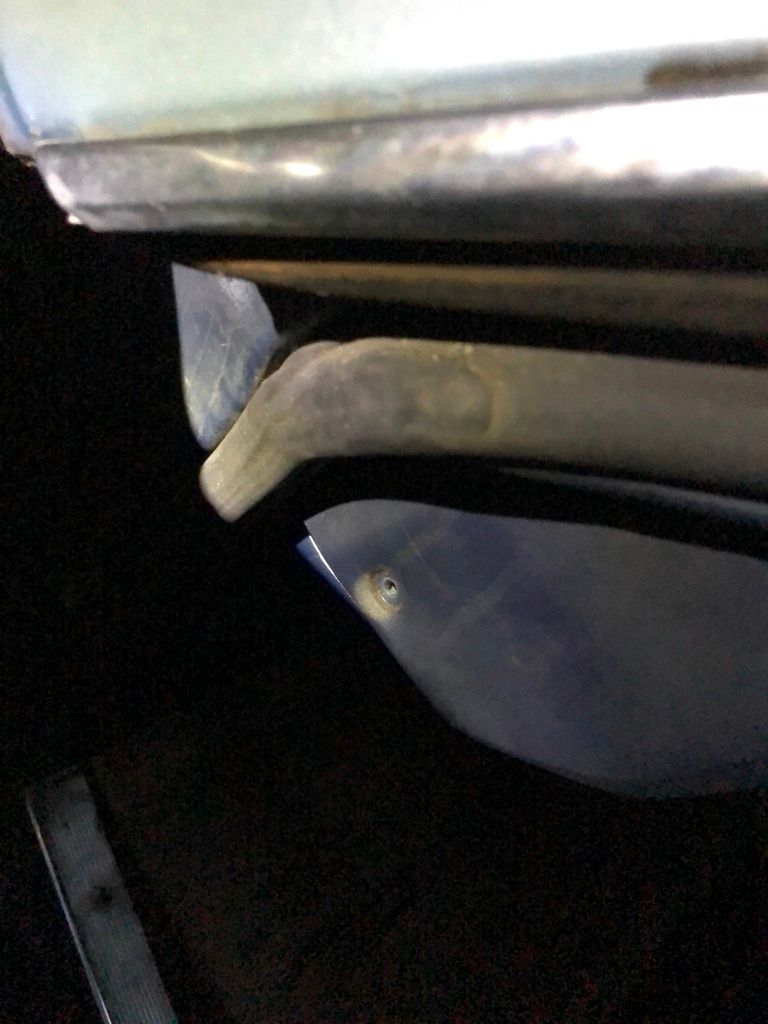
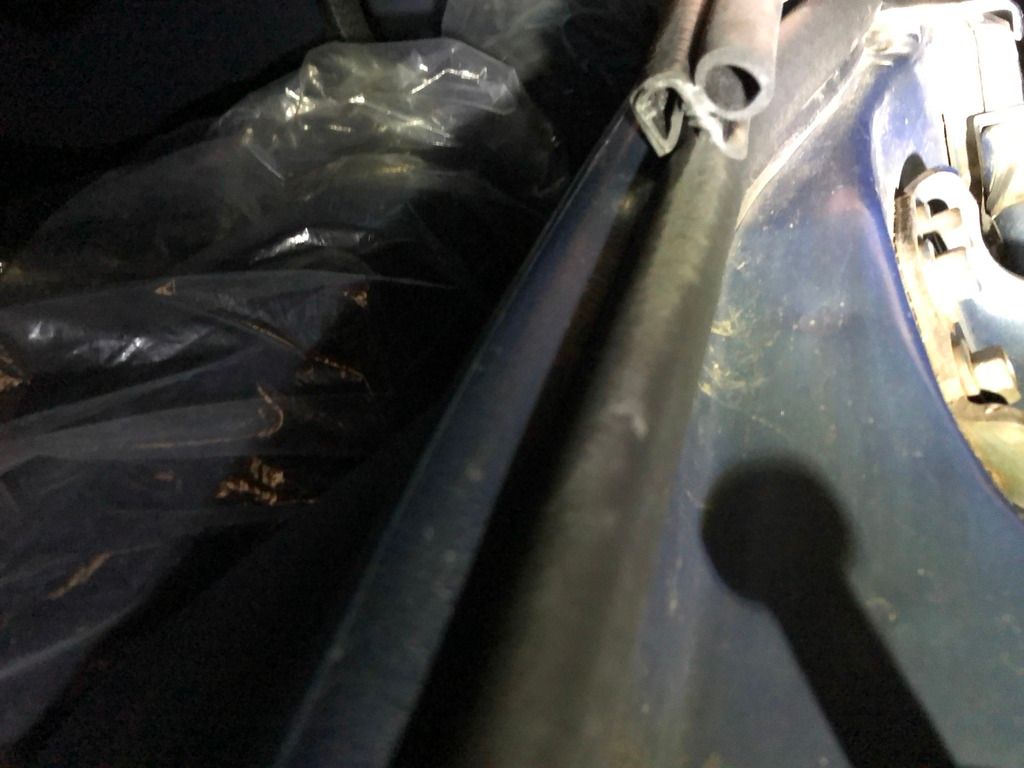
I might attempt to change out the door seal on the front driver's side this coming weekend. I took some pics of the old seal and the new seal laid up against it. The old seal is very mushy; while the new one is a bit more firm and looks to be taller. We'll see how it works. When I take the old seal off, I will measure both.
Leave a comment:
-
Gentle hammer action is the key. Don't pound on it, just tap gently to move the metal without denting it. I often un-dent the aluminum tubing that makes up the middle of air cylinders at work the same way. Those are I think 1/8" soft extruded aluminum. I use a piece of an old gearbox shaft that is a reasonable fit inside as my dolly, and very gently tap the outside to pull the dents out. Steel works the same way, though if its on the thick side you do need to apply more force.
If it won't tap out, then you fill it with JB Weld or Marine Tex, sand it smooth and carry on with your day.
Leave a comment:
-
Worked on the gauge panel a little on the weekend. Cleaned and covered the metal gauge holder with shelf-paper. Because I beat that panel with a hammer, there are adhesive/air bubbles that I can't work out. I will have to make another panel and not use a hammer.
Painted the console 3 times in an attempt to match the interior color (medium blue). 1st paint had way too much green in it and was metallic despite the label not stating metallic and saying it was medium blue. I still had some dark blue exhaust paint left; so I tried that and it was too light; although it was flat which is what I was looking for. Went out and got a can of Royal blue paint and it was dark enough, but has a little metallic stuff in it. I was giving some thought of spraying clear coat in hopes of it flattening out the royal blue, but my mom saw it first and with a stern look, said she "....loved it, leave it alone." So that is how it will stay.
Leave a comment:
-
Also going to spray the console medium blue (try to match the interior) and cover the panel with shelf paper that has a wood grain pattern.
Leave a comment:
-
Worked on the gauge panel some last weekend. Have no tools or devices other than a vice and elbow grease to bend the panel. That did the job up to a point. I wanted it to sit closer to the lip of the console. After several hours of bending, I decided to use a hammer. The hammer worked and I got it much closer to the lip/mounting flange on the console, but I dinged the panel up a bit. I will use it for the time being, but once I get the time, I will cut another panel and just bend it without the hammer. I will use spacers and longer sheet metal screws to make up for the space. We'll see.
Leave a comment:
-
When I replaced the timing set on the Lincoln, I used a bolt-type puller for the balancer. I took out the crankshaft bolt and was wrenching the hell out of that puller. The puller was bending it was so tight.Originally posted by packman View Post[ATTACH=CONFIG]48413[/ATTACH]
It was stuck in there pretty good. Tapped it with the breaker bar; pryed on it a little; then went back to the car and got the small hammer that always seems to stay in the trunk. That didn't work so I figured it was pressed onto the damper somehow. Perhaps I needed to put some muscle into it? In any event, I will be going back to get that and other pieces.
Took the puller off to figure out WTF was wrong and out fell the washer from the crankshaft bolt. Whoops. The puller had been pushing the washer against the balancer rather than the balancer away from the crank. Don't be a me.
Leave a comment:
-
Not pressed, just a close fit and with a little rust they get fairly stubborn.
Leave a comment:
-
It was stuck in there pretty good. Tapped it with the breaker bar; pryed on it a little; then went back to the car and got the small hammer that always seems to stay in the trunk. That didn't work so I figured it was pressed onto the damper somehow. Perhaps I needed to put some muscle into it? In any event, I will be going back to get that and other pieces.
Leave a comment:
-
why do you need a steering wheel puller to get a crank pulley? Pull the bolts and give it a tap, it'll pop right off.
Leave a comment:
Leave a comment: