Announcement

Collapse
No announcement yet.

Headlight assembly removal with haze on the inside? (restoration)

Collapse
X
 
  • Filter
  • Time
  • Show
Clear All
new posts

    Headlight assembly removal with haze on the inside? (restoration)

    I have some HID's coming to me in the next week or so but prior to installing them I want to 'restore' my headlight assembly. I have already done the outside of the capsules with 4 step wet-dry sand-buff-polish method which worked very well but I want to go more indepth this time. IE-the capsules have those nod-like nipples on it which makes it difficult to work around as well as getting too close to the surrounding parts.

    So I want to take the HA completely off the car and work on them that way. Is it a PITA to take out or will I risk headlight alignment issues if I do? Also, I notice some haze/fog on the INSIDE of the HA that I would like to clear up which I imagine I can only do by using the small bulb insert or by separating the HA into 2 pieces. Any suggestions for that?

    Thanks in advance...
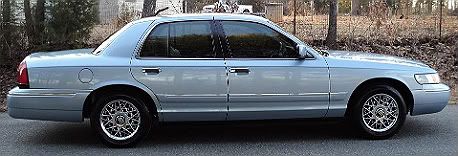
    '01 Mercury Grand Marquis GS 4.6L
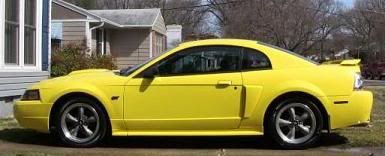
    '01 Ford Mustang GT 4.6L

    #2
    Why bother, when rockauto has brand new headlamp assemblies for $25 a side? $33 for the OEM CAPA replacements. Much easier to do.

    Comment


      #3
      Hrrrm...that may be a good idea...

      EDIT: I like the dark reflected TYC lights better. Anyone have experience with that brand?


      Also looking for comments about the r&r and headlight alignment...
      Last edited by r2t; 03-27-2012, 02:22 PM.
      '01 Mercury Grand Marquis GS 4.6L
      '01 Ford Mustang GT 4.6L

      Comment


        #4
        It wont mess up the headlight aim as long as you don't put them back wrong. The adjuster/mechanism is part of the headlamp assembly and come out with them
        Pete ::::>>> resident LED addict and CFI defector LED bulb replacements
        'LTD HPP' 85 Vic (my rusty baby) '06 Honda Reflex 250cc 'Baileys' 91 Vic (faded cream puff) ClifFord 'ODB' 88 P72 (SOLD) '77 LTDII (RIP)
        sigpic
        85HPP's most noteworthy mods: CFI to SEFI conversion w/HO upperstuff headers & flowmasters P71 airbox Towncar seats LED dash light-show center console w/5 gauge package LED 3rd brake light 3G alternator mini starter washer/coolant bottle upgrade Towncar power trunk pull underhood fuse/relay box 16" HPP wheels - police swaybars w/poly rubbers - budget Alpine driven 10 speaker stereo

        Comment


          #5
          On my '95 GM I took the adjusters off the old ones and put them on the replacements and then installed with the clips. The alignment, thusly, stayed the same!


          "Hope and dignity are two things NO ONE can take away from you - you have to relinquish them on your own" Miamibob

          "NEVER trade your passion for glory"!! Sal "the Bard" (Dear Old Dad!)

          "Cars are for driving - PERIOD! I DON'T TEXT, TWEET OR TWERK!!!!"

          Comment


            #6
            If anyone is ever around here, and has the nubs on their headlights I have the aiming tools and would be happy to adjust them with you.

            Jay
            03 Marauder DPB, HS, 6disk, Organizer Mods> LED's in & Out, M&Z rear control arms, Oil deflector, U-Haul Trans Pan, Blue Fuzzy Dice
            02 SL500 Silver Arrow
            08 TC Signature Limited, HID's Mods>06 Mustang Bullet Rims 235/55-17 Z rated BFG G-Force Comp-2 A/S Plus, Addco 1" rear Sway, Posi Carrier, Compustar Remote Start, floor liners, trunk organizer, Two part Sun Visors, B&M Trans drain Plug, Winter=05 Mustang GT rims, Nokian Hakkapeliitta R-2 235/55-17
            12 Escape Limited V6 AWD, 225/65R17 Vredestein Quatrac Pro, Winter 235/70-16 Conti Viking Contact7 Mods>Beamtech LED headlight bulbs, Husky floor liners

            Comment

            Working...
            X