If this is your first visit, be sure to
check out the FAQ by clicking the
link above. You may have to register
before you can post: click the register link above to proceed. To start viewing messages,
select the forum that you want to visit from the selection below.
Please let us know if things are working or not. This is still somewhat a work in progress so don't be too surprised if things magically appear from one visit to the next.
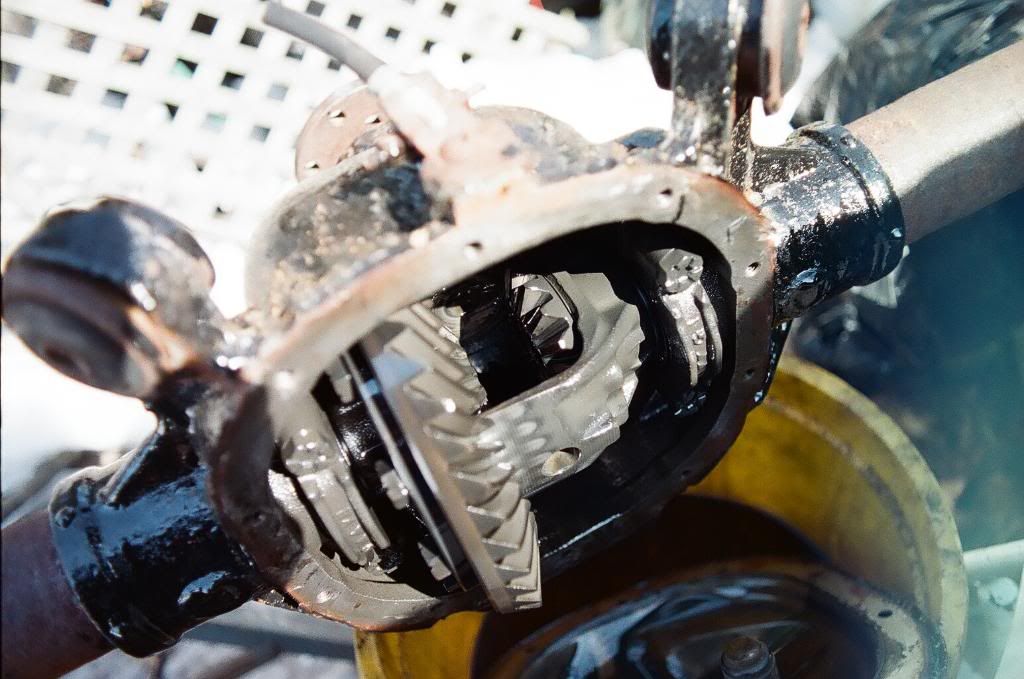
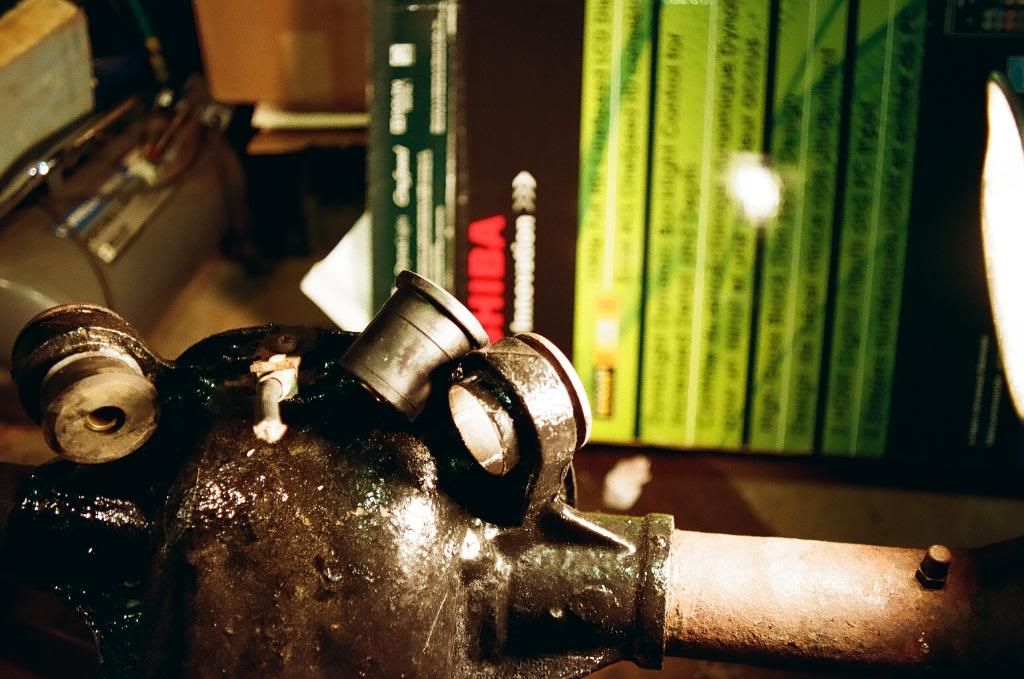
This is the rear diff after I removed the carrier pin, reataining bolt, and then the axles which are held in by the C-clips.
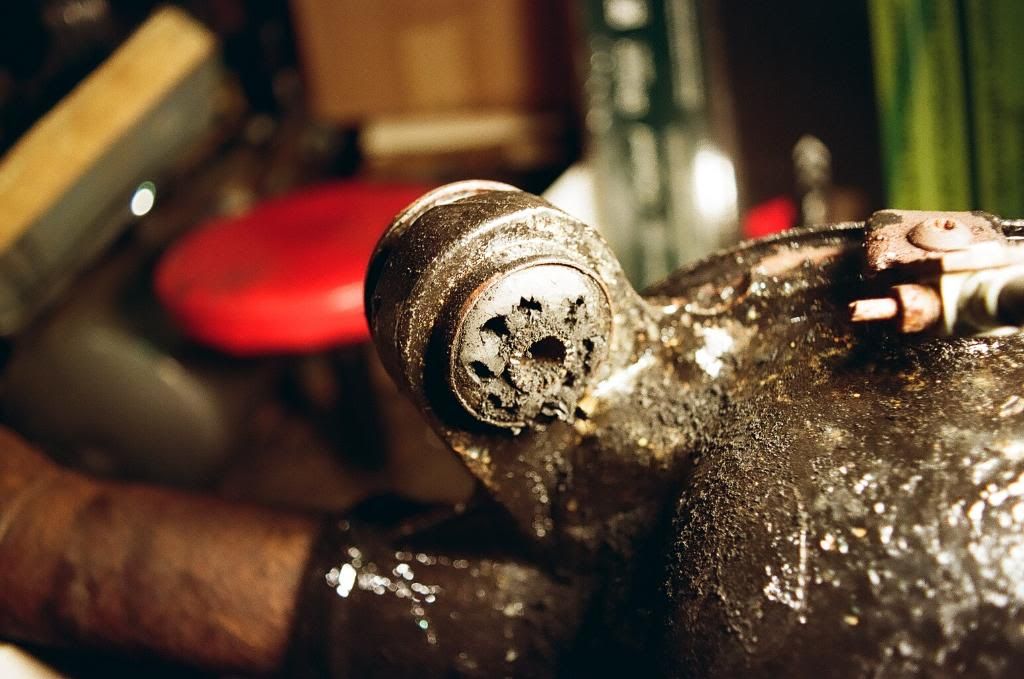
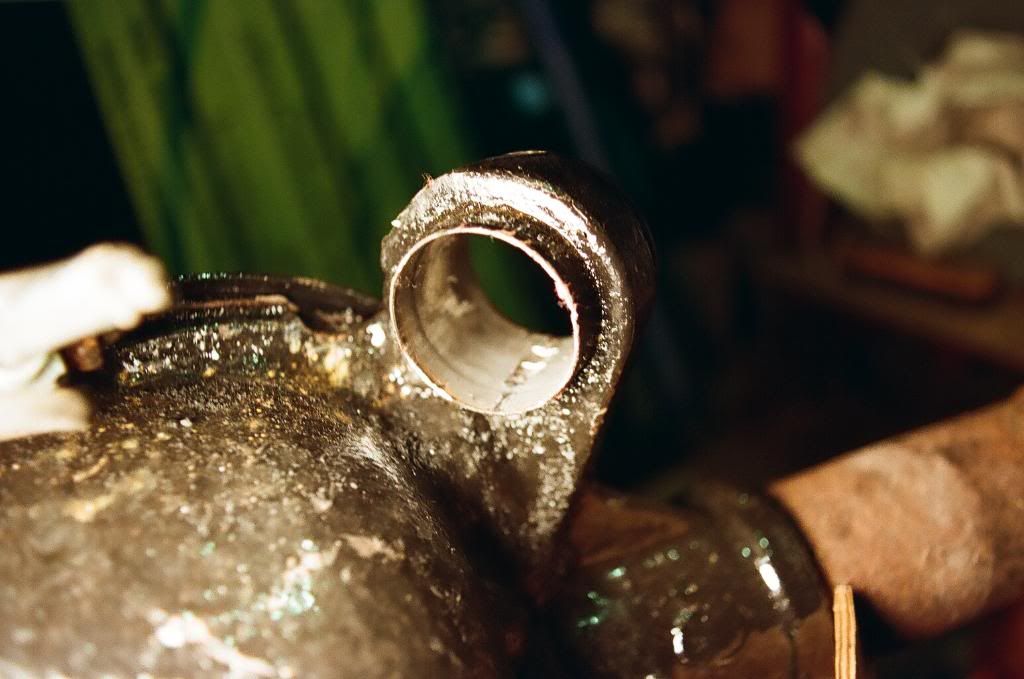
I drilled out the stock rubber bushings. Be careful when doing this. I did fine on the first bushing, but I got a little too hasty and got the metal shell of the second bushing.
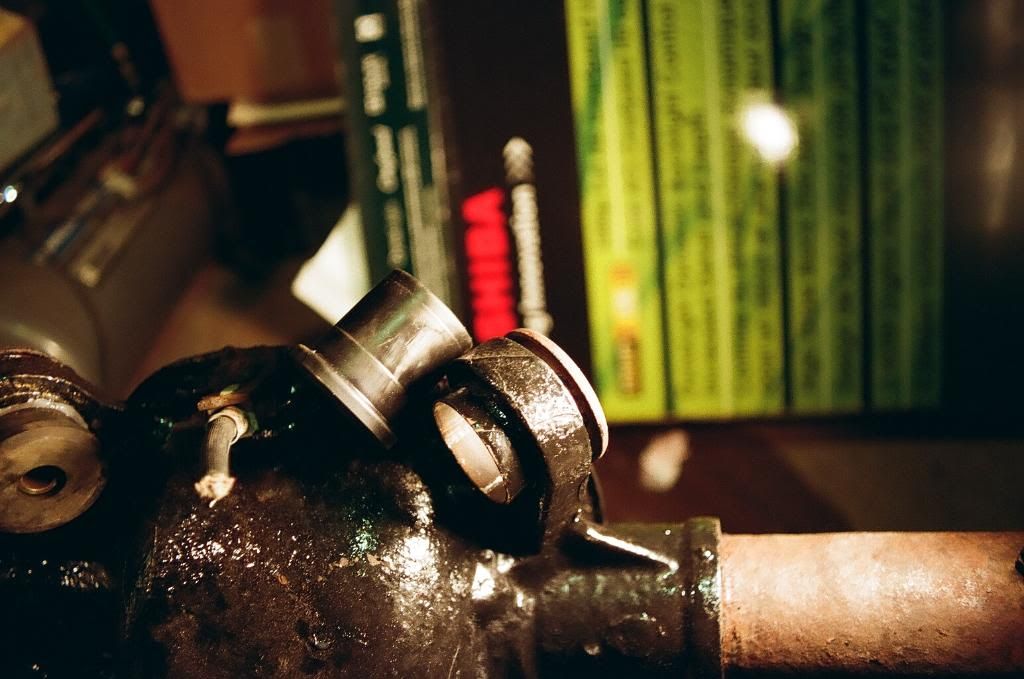
Here come the questions. Which way do these polygraphite bushings go into the metal sleeves?
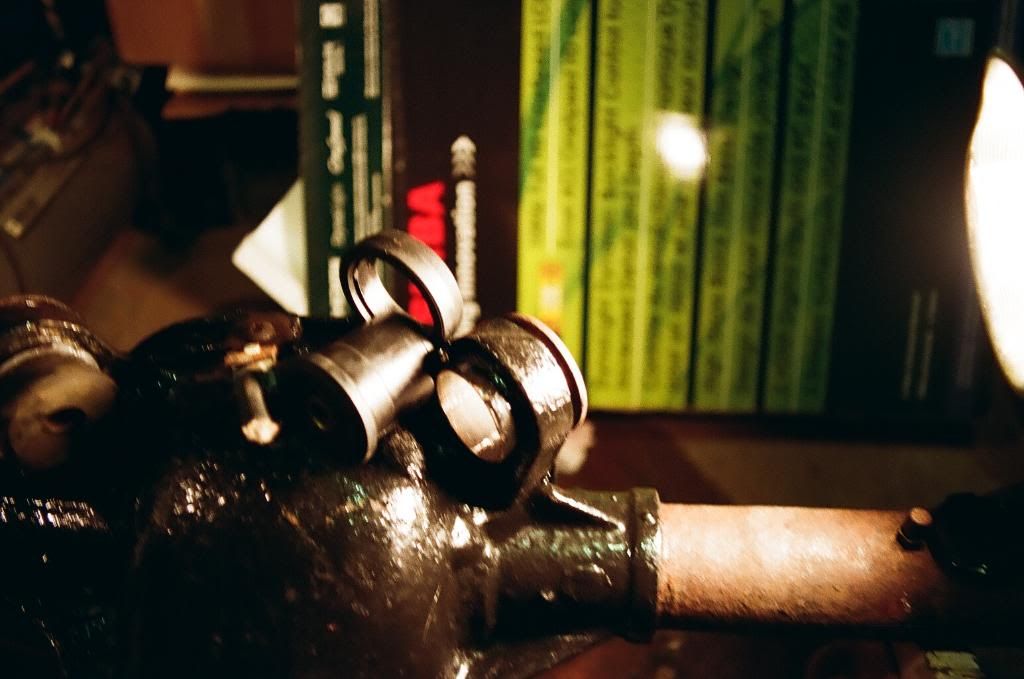
I'm thinking this way, but I can't be too sure. I think the capped end of the bushing goes into the not capped end of the metal sleeve. Then you place the bushing collar on the other end before it's placed in the upper trailing arm? I got time to think about this since I still have to mark the rotted spring perches, grind them off, and weld new spring perches onto the axle tubes.
BTW, these are '92-'97 Crown Vic/Grand Marquis polygraphite rear bushings; since they don't seem to make them for boxes. Since these are not made for boxes, are there any tricks or things I need to know before installing these? [/QUOTE]
Second picture from the bottom is the way they're intalled onto our rear diffs. PST doesn't go by part number; just by application. IDK if these are the same as Scott's.
It's easier to burn the bushings on the rear if the rear is out of the car. If not do as Packman did. As for the arm bushings, you burn them out. Pretty straight forward, just a bitch cause some of the bolts are rusted fast.
lol ... I don't have an oxy torch, but I've had good luck in the past getting most anything loose with enough PB Blaster and enough patience with a normal propane torch. Heat the nut till the rust is starting to spark, quench it with PB Blaster, set the PB Blaster on fire and torch for a while, quench it with PB Blaster again ... yep. Oh, and try not to set things like carpeting on fire.
I keep eyeing that nice $300 Port-a-torch kit at Tractor Supply Company, though.
2012 Mazda5 Touring | Finally working on the LTD again!
The method I used is a PITA, but it works when fire is prohibited. Make sure your drill bits are sharp and that teh diameter isn't larger than the space between the bolt shank (shell) and the metal bushing shell.
two hole saws for removing the bushings on the rear.......one is 1" the other i'm not sure of the size
1986 lincoln towncar signature series. 5.0 HO with thumper performance ported e7 heads, 1.7 roller rockers, warm air intake, 65mm throttle body, 1/2" intake spacer, ported intakes, 3.73 rear with trac lock, 98-02 front brake conversion, 92-97 rear disc conversion, 1" rear swaybar, 1 3/16" front swaybar, 16" wheels and tires, loud ass stereo system, badass cb, best time to date 15.94 at 87 mph. lots of mods in the works 221.8 rwhp 278 rwt
2006 Lincoln Town Car Signature. Stock for now
1989 Ford F-250 4x4 much much more to come, sefi converted so far.
1986 Toyota pickup with LSC wheels and 225/60/16 tires.
2008 Hyundai Elantra future Revcon toad
1987 TriBurner and 1986 Alaska stokers keeping me warm. (and some pesky oil heat)
The method I used is a PITA, but it works when fire is prohibited. Make sure your drill bits are sharp and that teh diameter isn't larger than the space between the bolt shank (shell) and the metal bushing shell.
Oh, that's right, you guys get arrested instantly if anyone suspects you've taken a wrench out of the toolbox.
2012 Mazda5 Touring | Finally working on the LTD again!


 I remember now seeing those pics.


Comment