Last month it was time to deal with the valve seals on my 93 Grand Marquis. It's my daily driver with 115,000 mi, and the valve seals have leaked on this car since I bought it in 2012, and it finally got to where it was using a quart about every 400 miles and pinging under load even on 91 octane. I picked up the valve spring compressor from Trickflow, a set of Felpro Viton valve seals, and a valve cover gasket set then set in on it thinking I'd get it done in a weekend. Yea, right. Not in my case. Thankfully I have a backup car because the GM was down for a month working evenings and weekends.
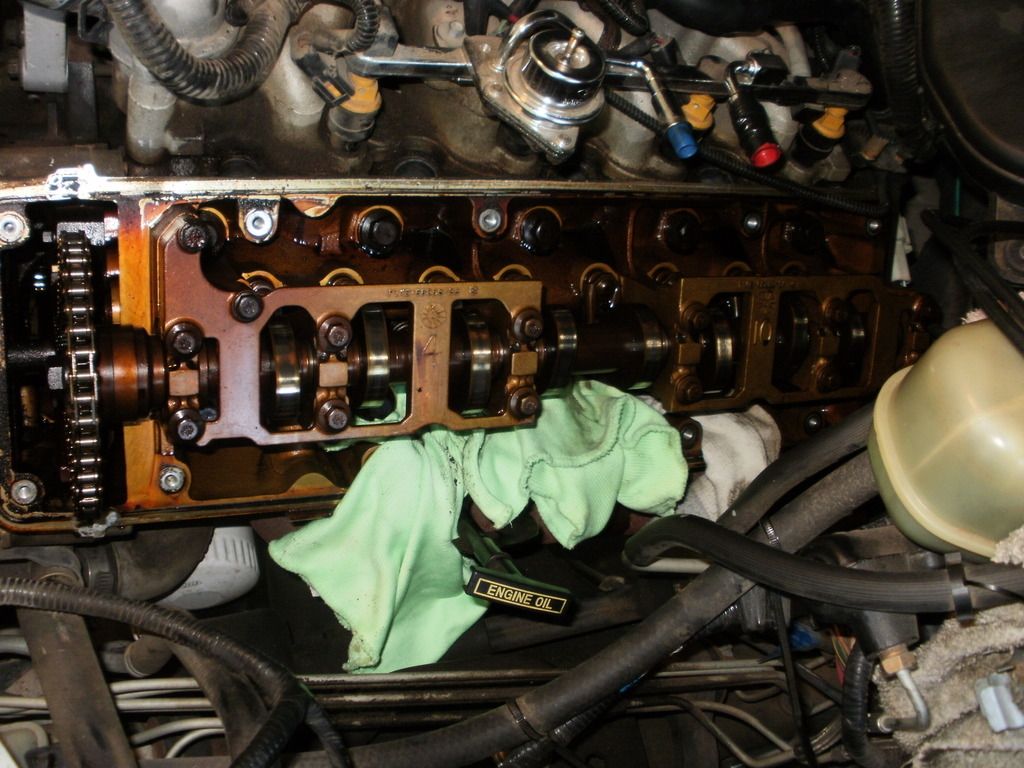
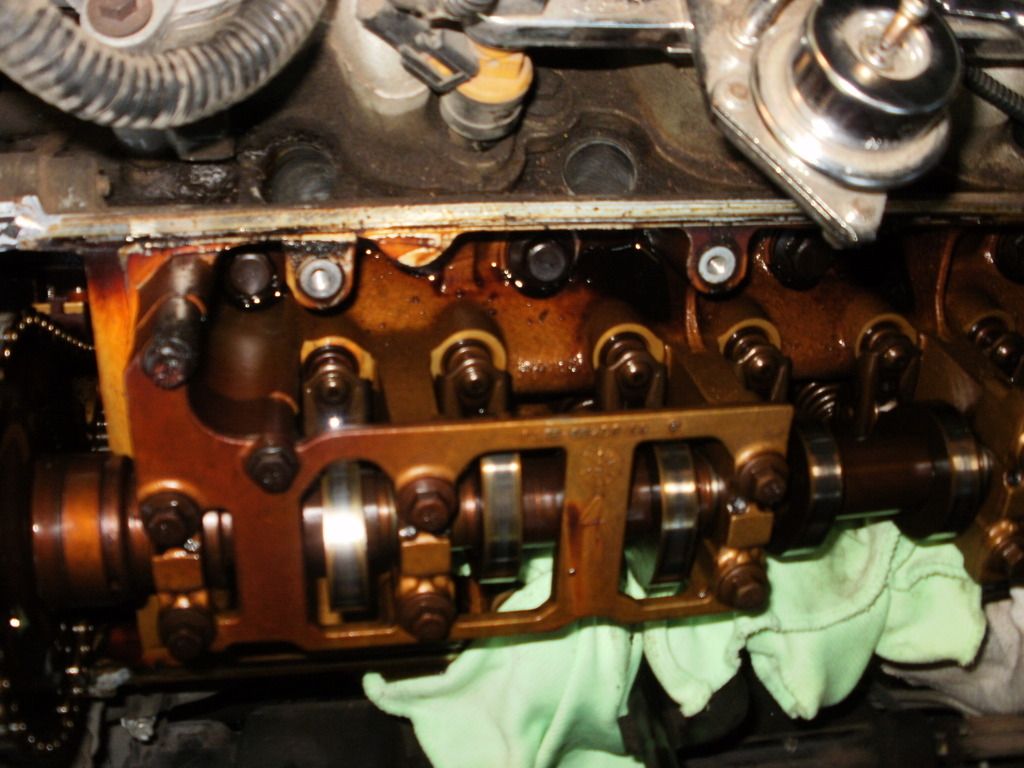
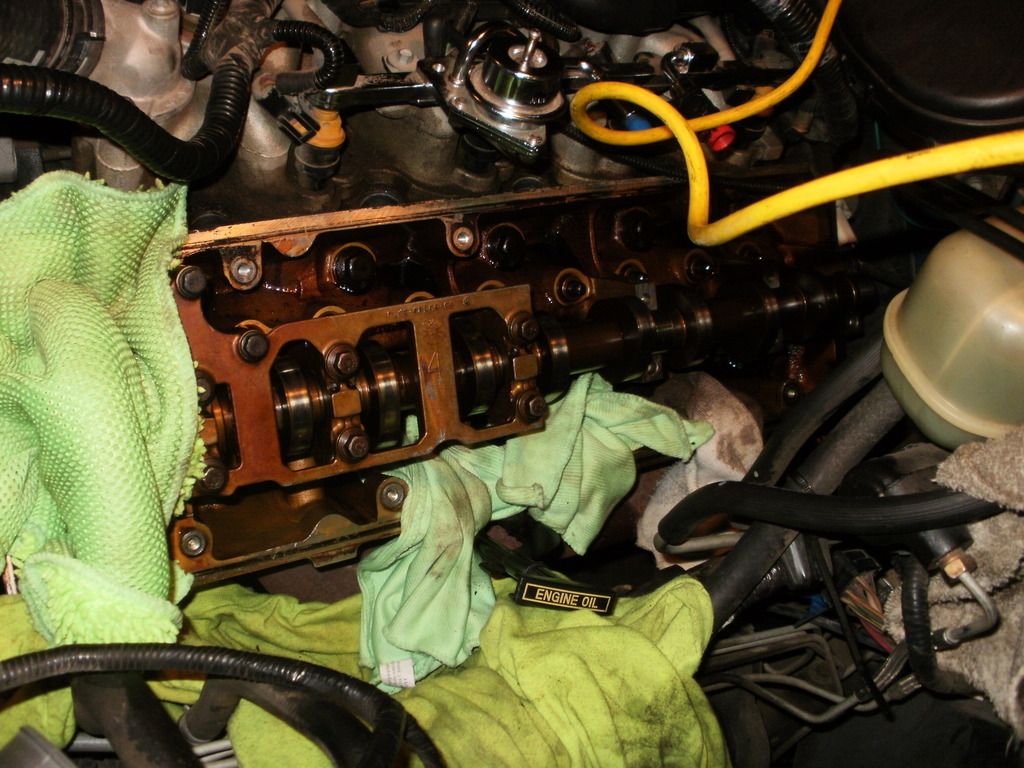
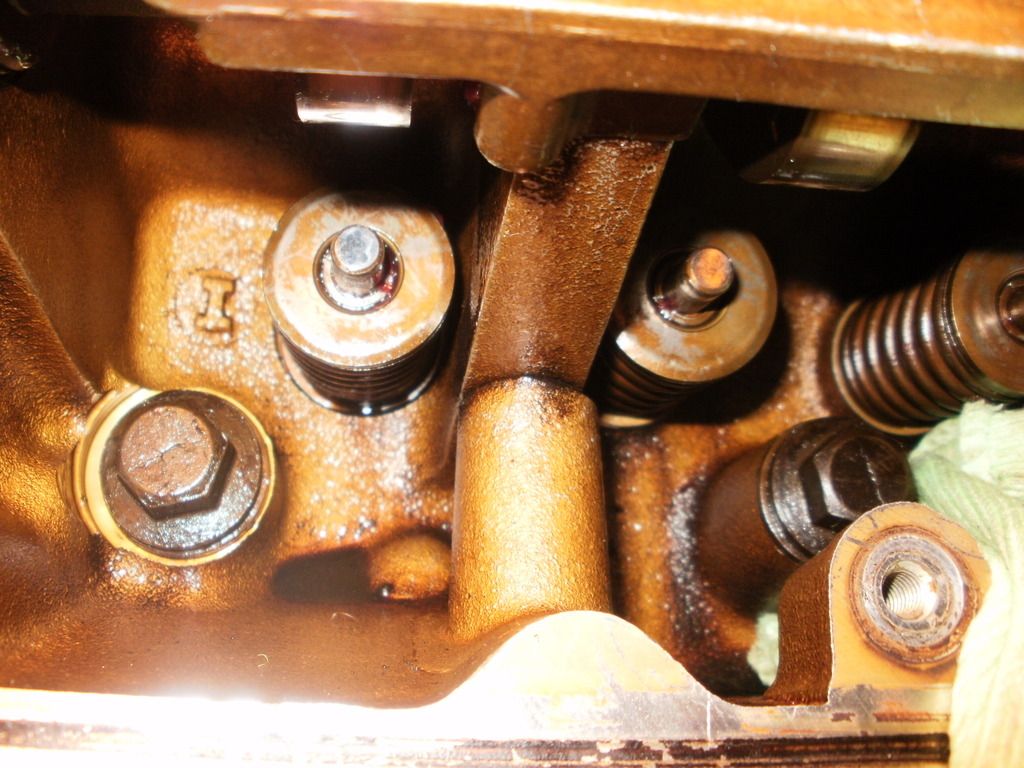
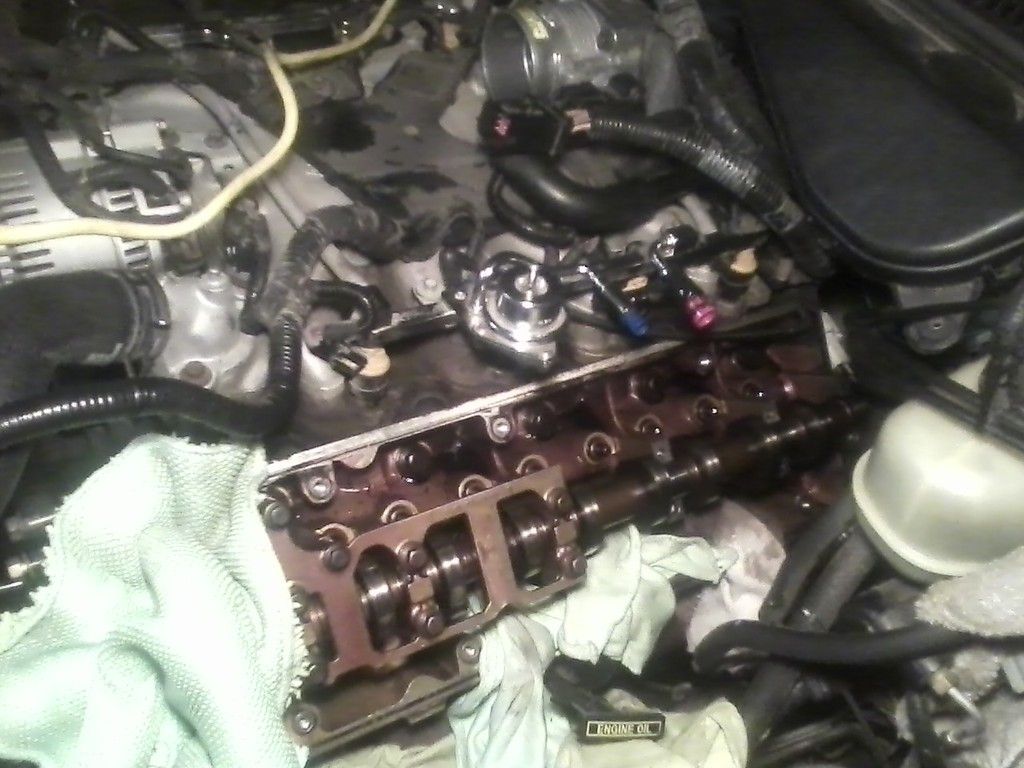
Got the seals in the driver's head replaced, and then it all went downhill from there. All of the old seals were like hard plastic so they were definitely shot. So I was getting the rockers out of the passenger side head, and my Dad was turning the motor over with a breaker bar to get the cam lobes out of the way so I could them out easier, and the motor just stopped turning right after I got the last rocker out of the passenger head. The first thing that came to mind was piston to valve contact, but we hadn't reinstalled the rockers on the driver's side yet so all of the valves were closed. So then we started eliminating possible causes, pulled spark plugs, removed starter in case it was stuck, put it in neutral to make sure it wasn't the torque converter stuck, cracked open the timing cover to make sure it wasn't the cams or chains stopping it from turning. Then we removed the timing chains and it didn't change anything. The cams were spinning freely, but the crank still wouldn't turn so we were like
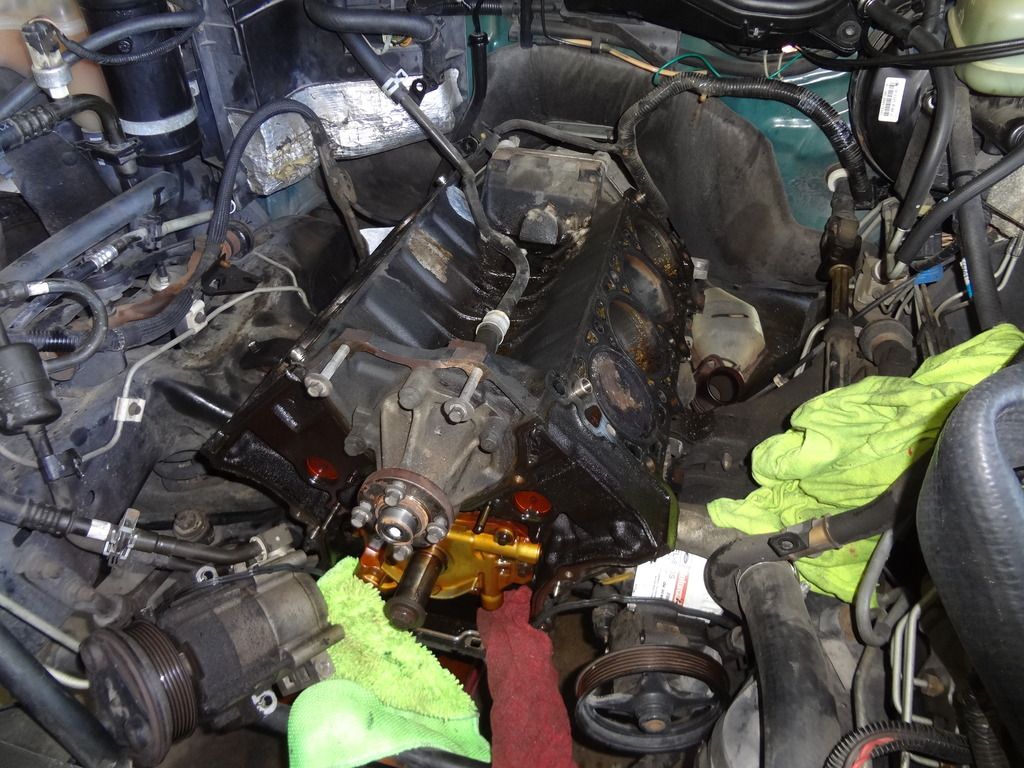
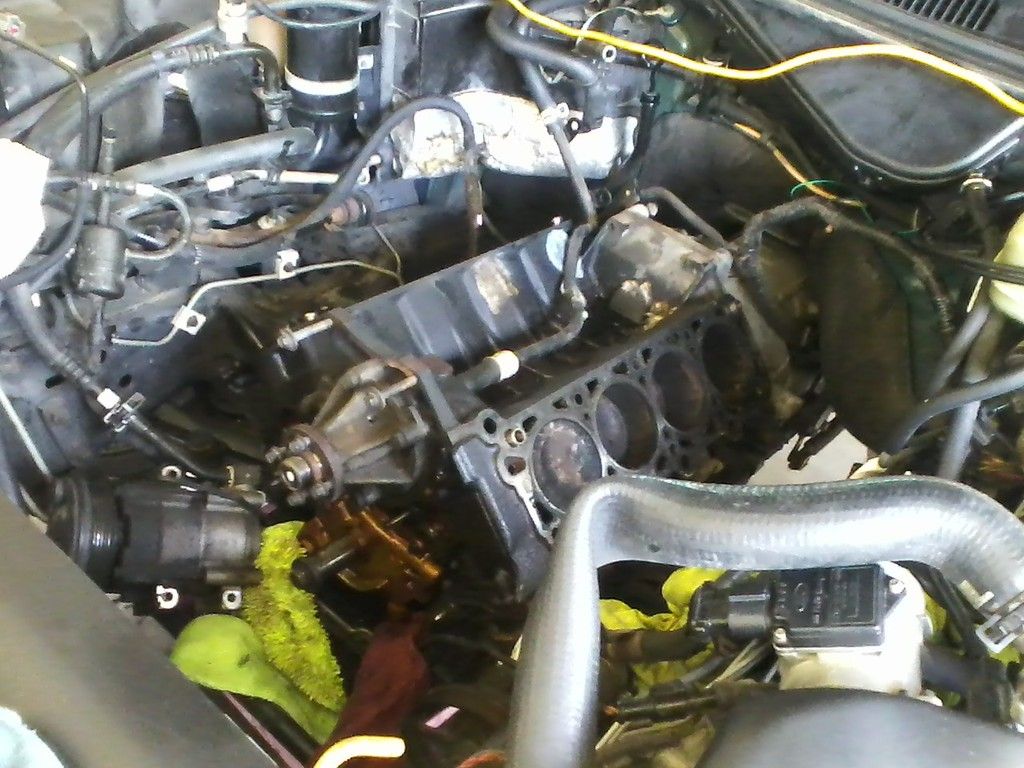
Well, the next step was to pull the heads, and that's when the problem became apparent. These pics were after I cleaned the chunks of carbon out of the cylinders. I'm guessing somehow when we were airing up the cylinders it knocked some big chunks of carbon loose, and it got jammed between the head and the piston on cylinders 3 and 5. You could see where the piston was smashing the carbon. It was like the engine was trying to make charcoal briquettes in the cylinders. After the heads were removed the engine turned just fine!
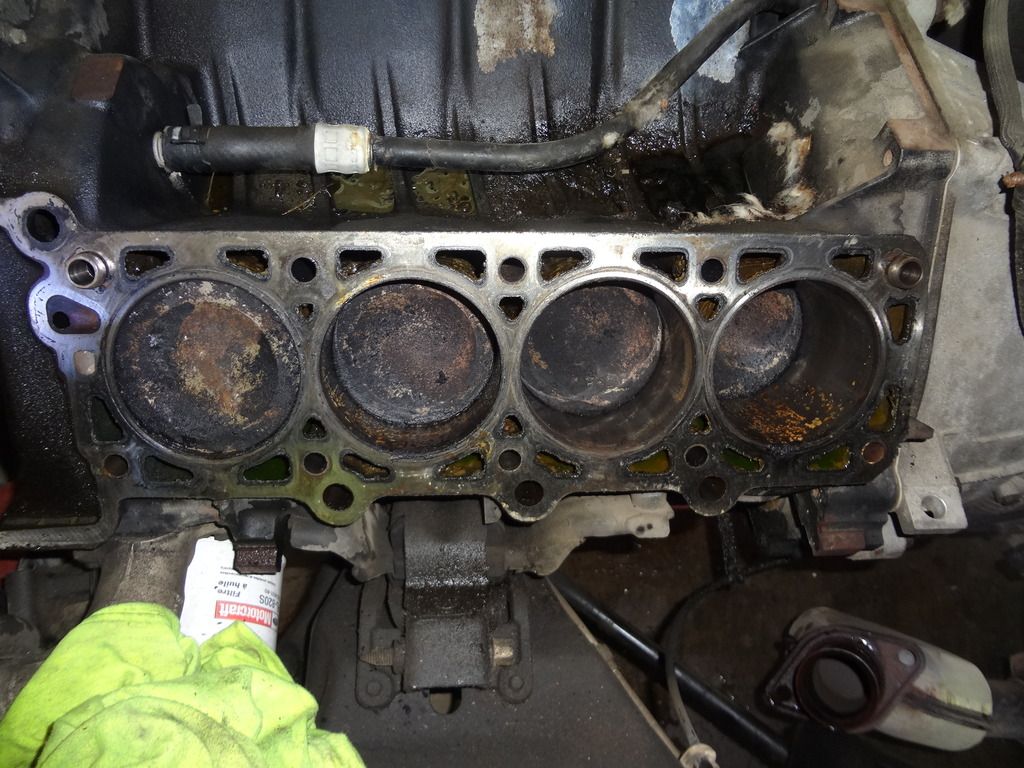
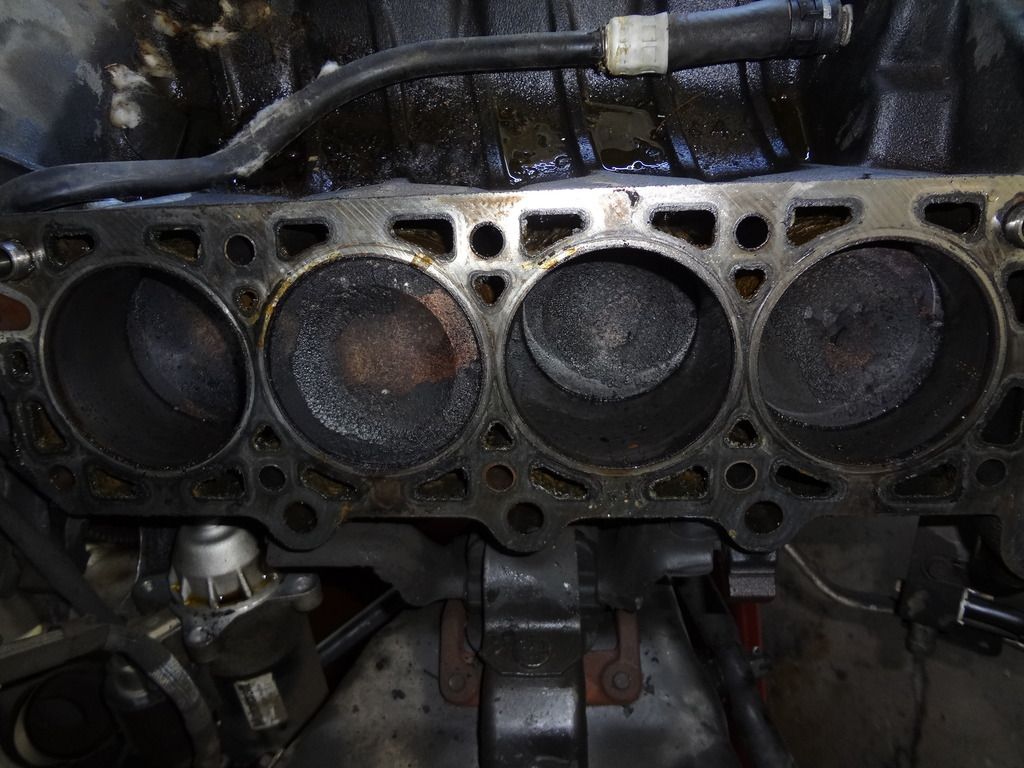
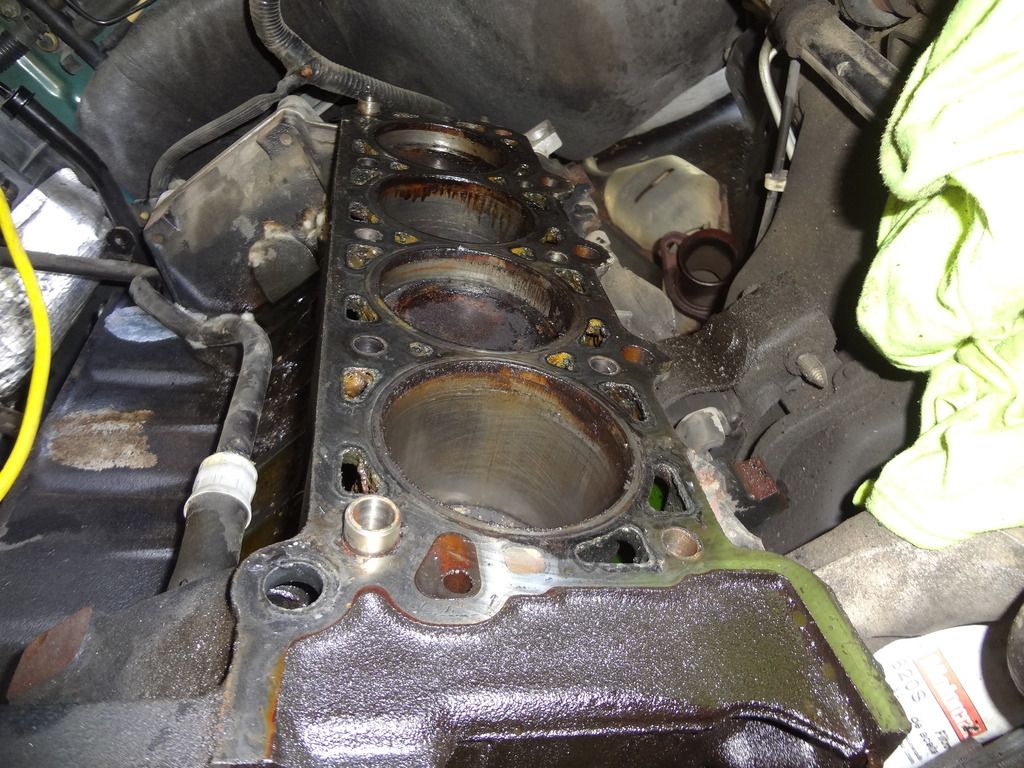
Crosshatching is still there.
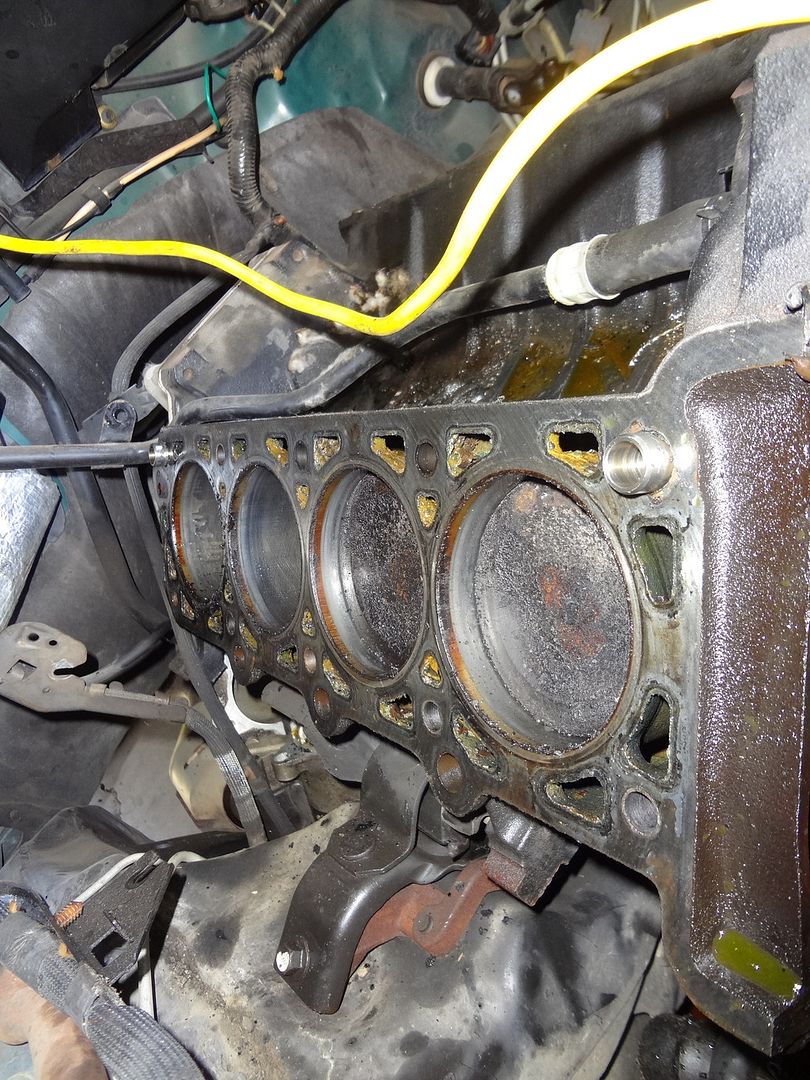
The combustion chambers.
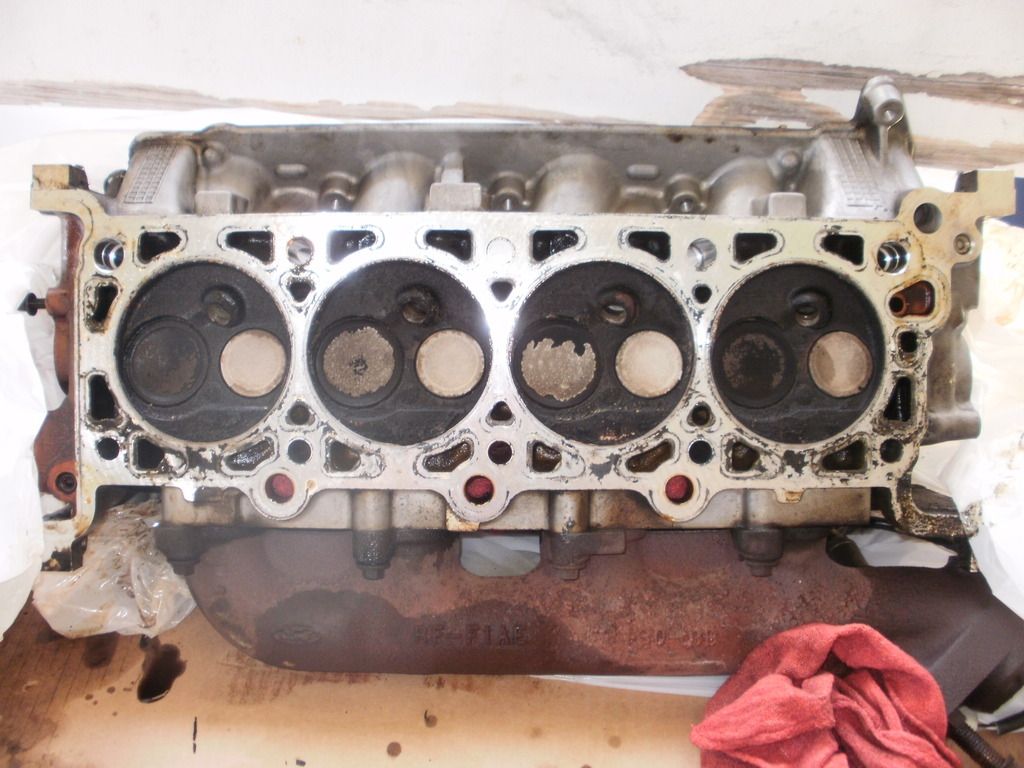
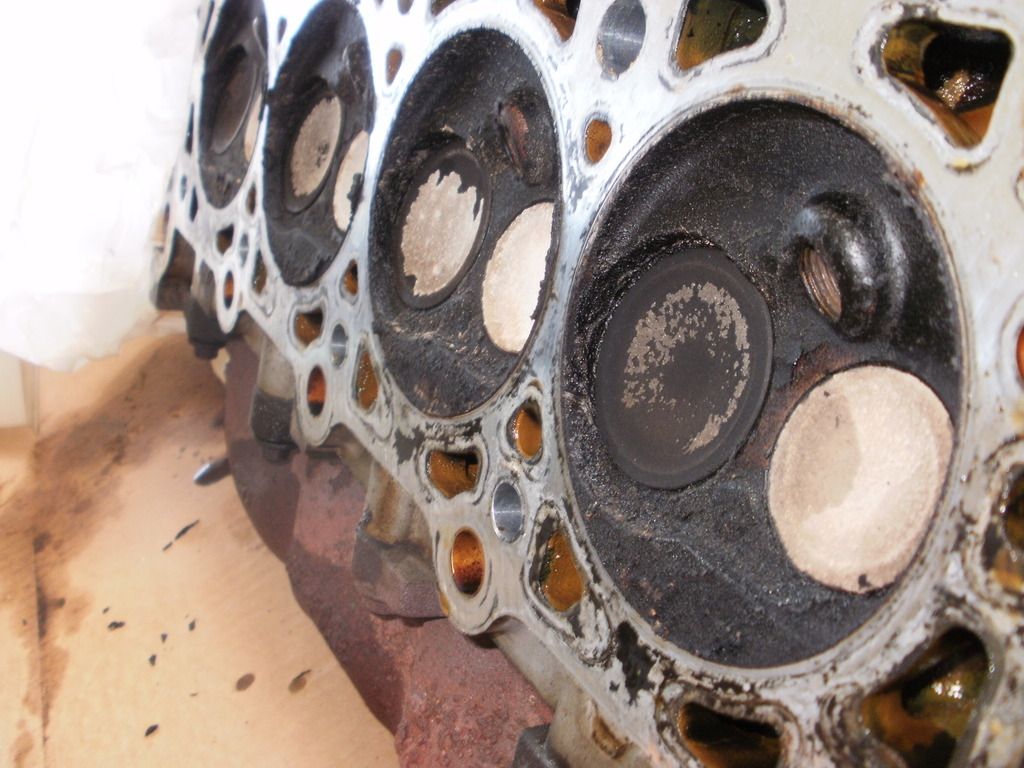
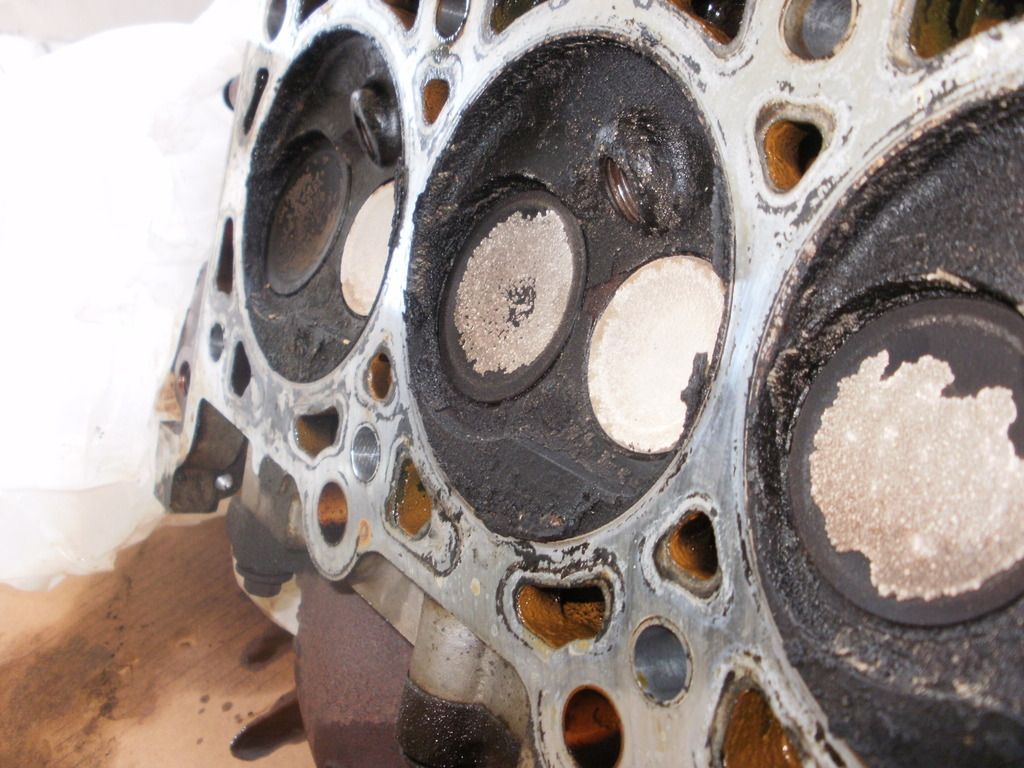
The heads after cleaning with a wire brush in a drill. I used the old head gasket as a guard for the deck surface. I cleaned the pistons also, but I forgot to get a pic of it. I replaced the valve seals on the passenger head with it off the car, and reinstalled the rockers before putting the heads back on.
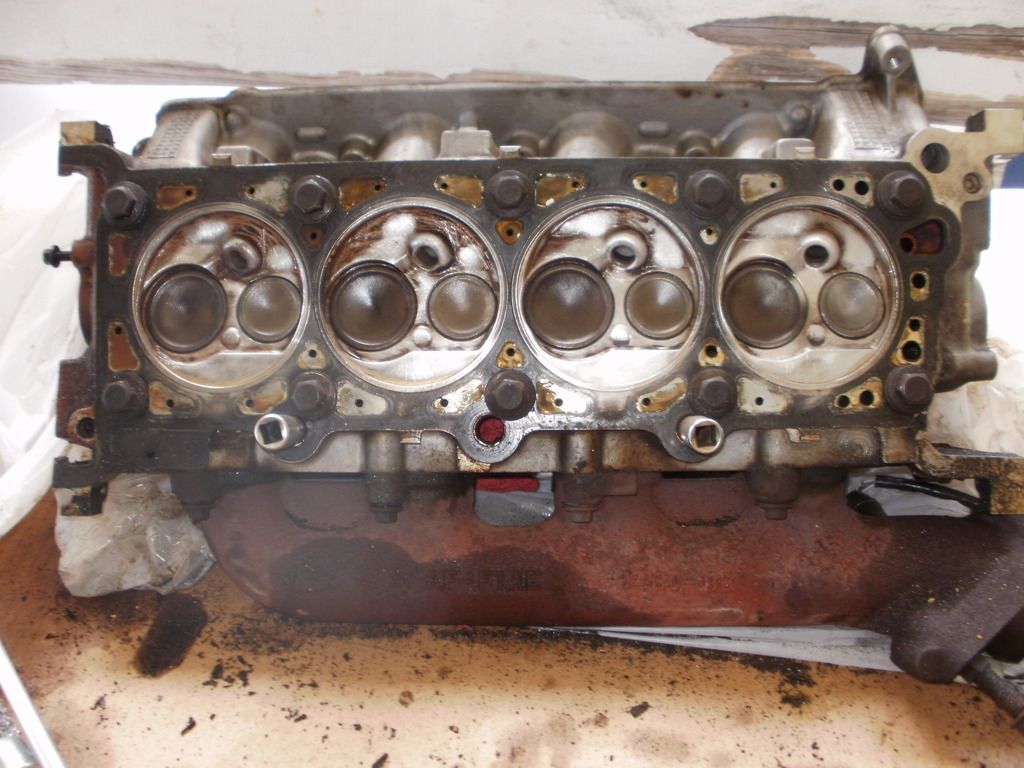
Reassembly.
Picked up a head gasket set and new head bolts.
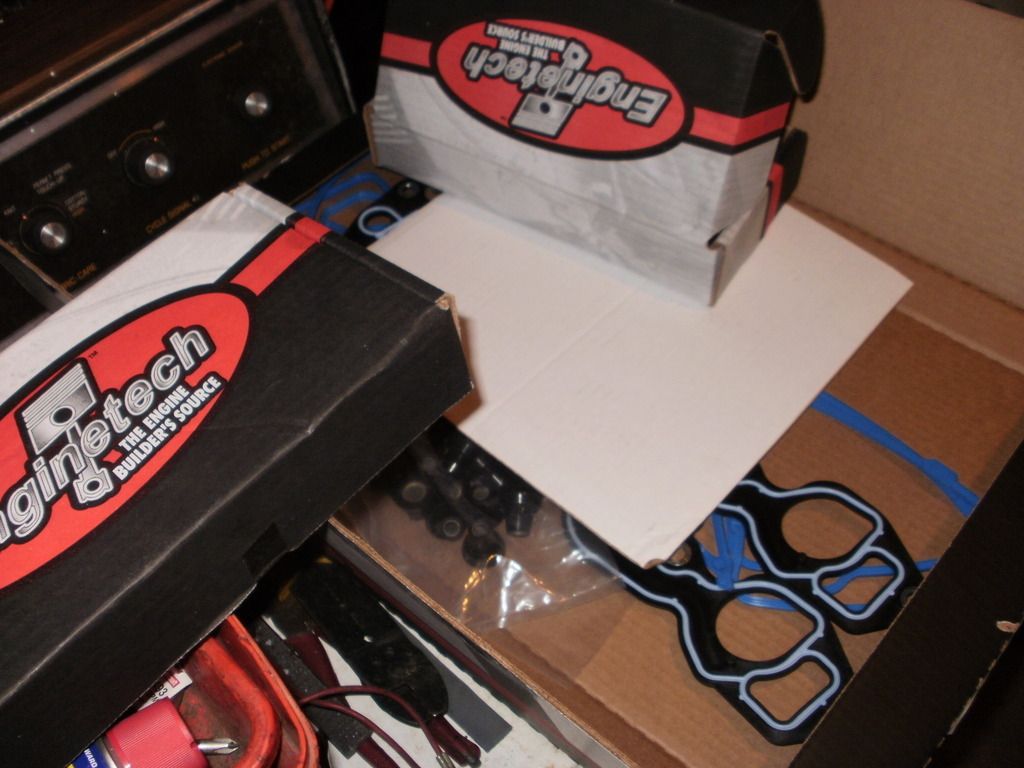
Replaced the under intake heater tube hose. Just cut the crimp off and install new hose and clamps.
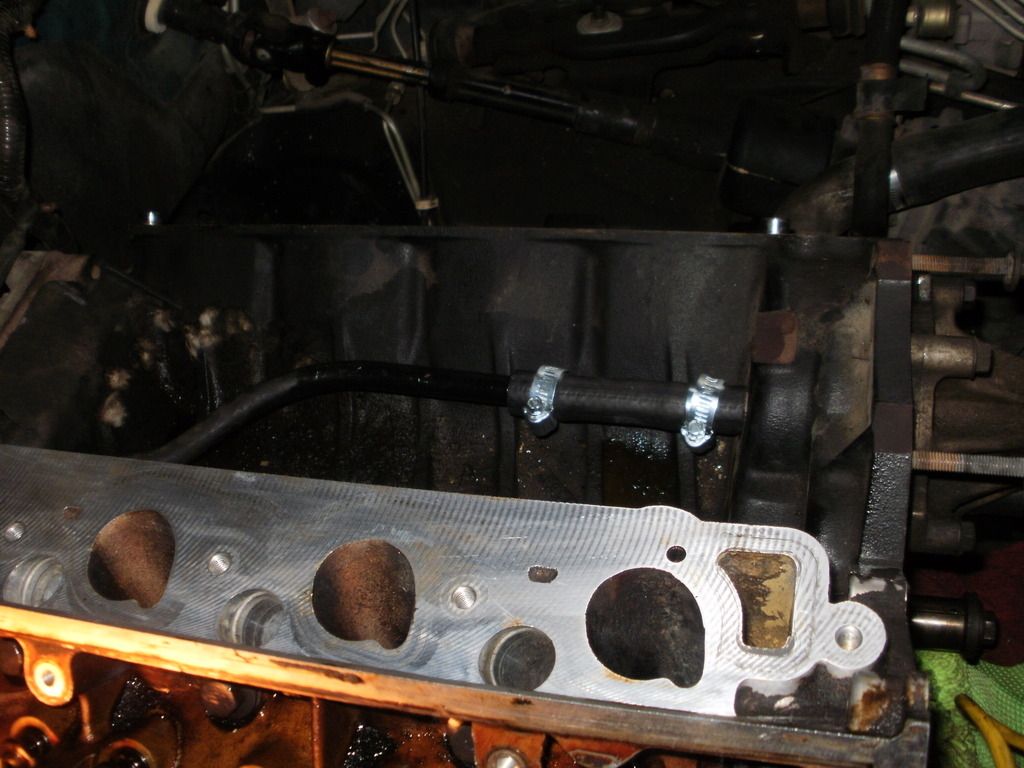
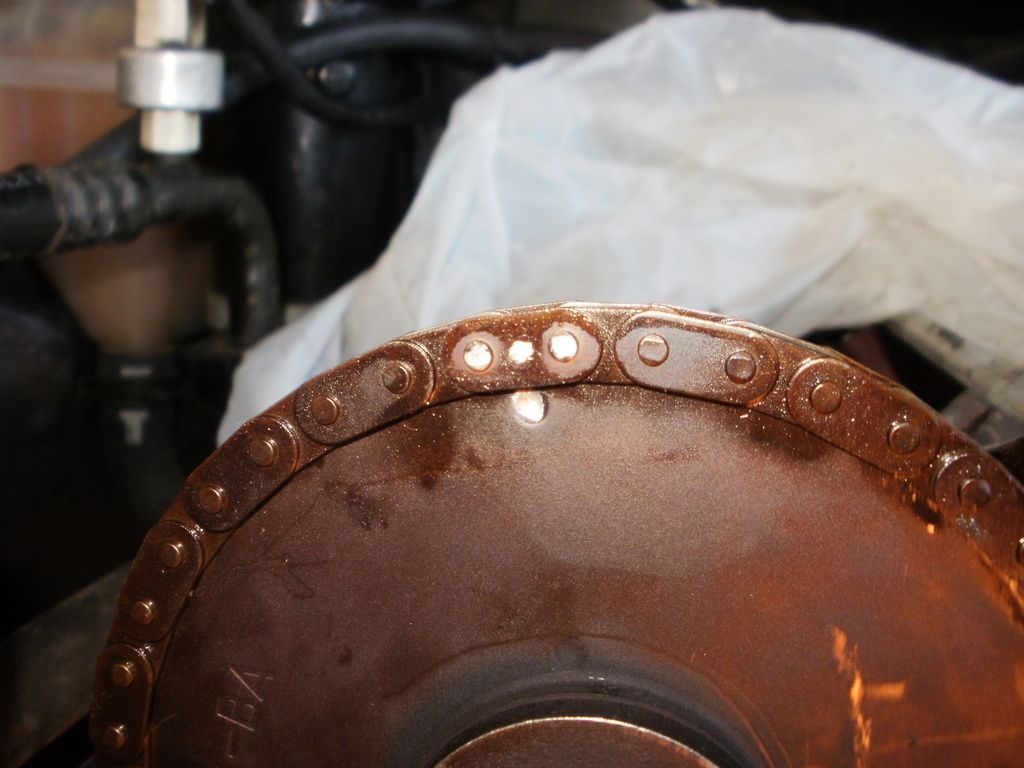
Timing the 4.6 is easy. Just mark the two links farthest away from each other on each chain with a paint pen. It helps if you can find the copper links like I did, but you don't have to. Paint a mark on the timing dot of each cam gear and each crank gear. Put the engine at TDC on number 1. Then spin the crank clockwise until the keyway is at 12:00. This is called "safe mode." It gets the pistons down in the cylinders just enough that the valves can't hit while you turn the cams. The driver side chain is done first and passenger side chain second. The crank gears go on back to back. Line up the dots on the crank gear with the marks on the chain. Then route the chain against the flat chain guide and up to the cam gear. Then turn the cam gear until the dot on the cam gear lines up with the dot on the chain. After that, install the chain on the cam gear and install the tensioner guide. Bleed down the tensioner in a vice. Release the ratchet mechanism with a small flat screwdriver and push it into the tensioner. Install a small paper clip in the retaining hole to keep the tensioner down. Then install the tensioner. Repeat for the passenger side. Double check everything and remove the paper clips to release the tensioner. Spin the engine at least 2 times clockwise with a breaker bar on the crank bolt to make sure no piston to valve contact occurs. I spun it 4 times.
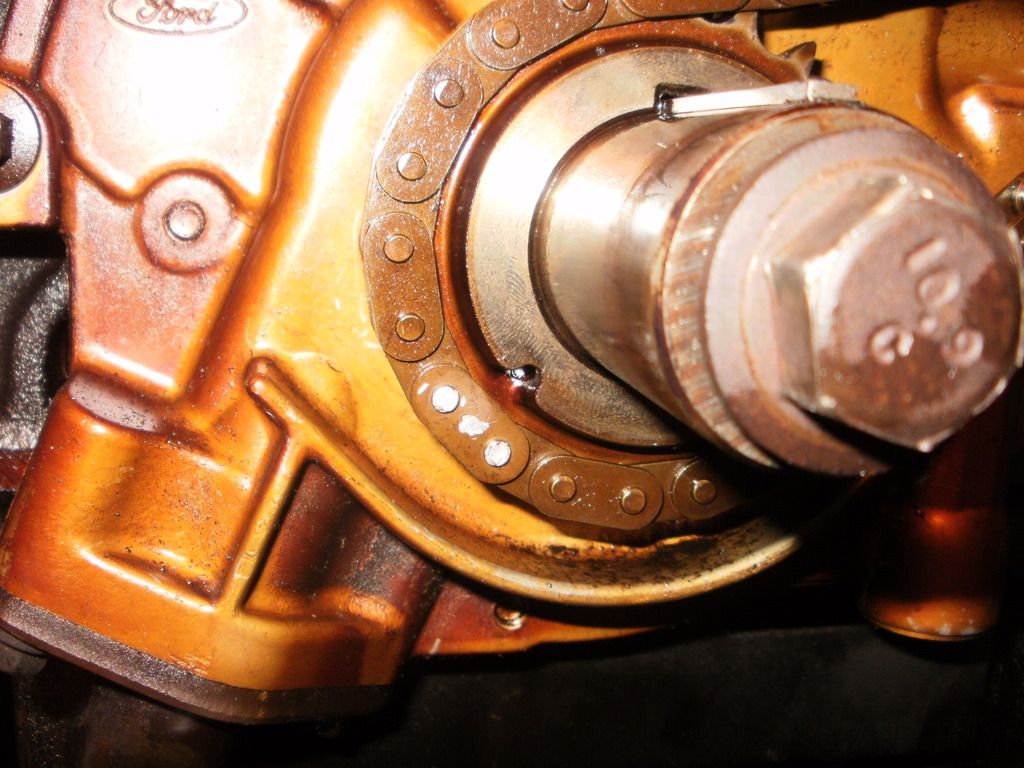
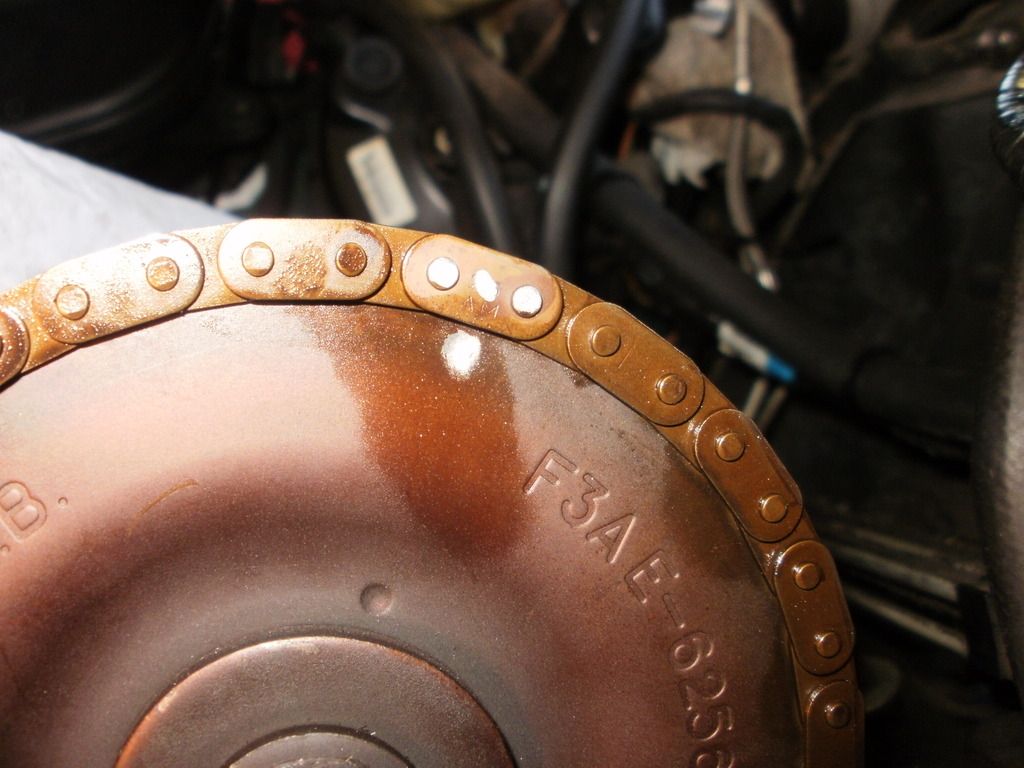
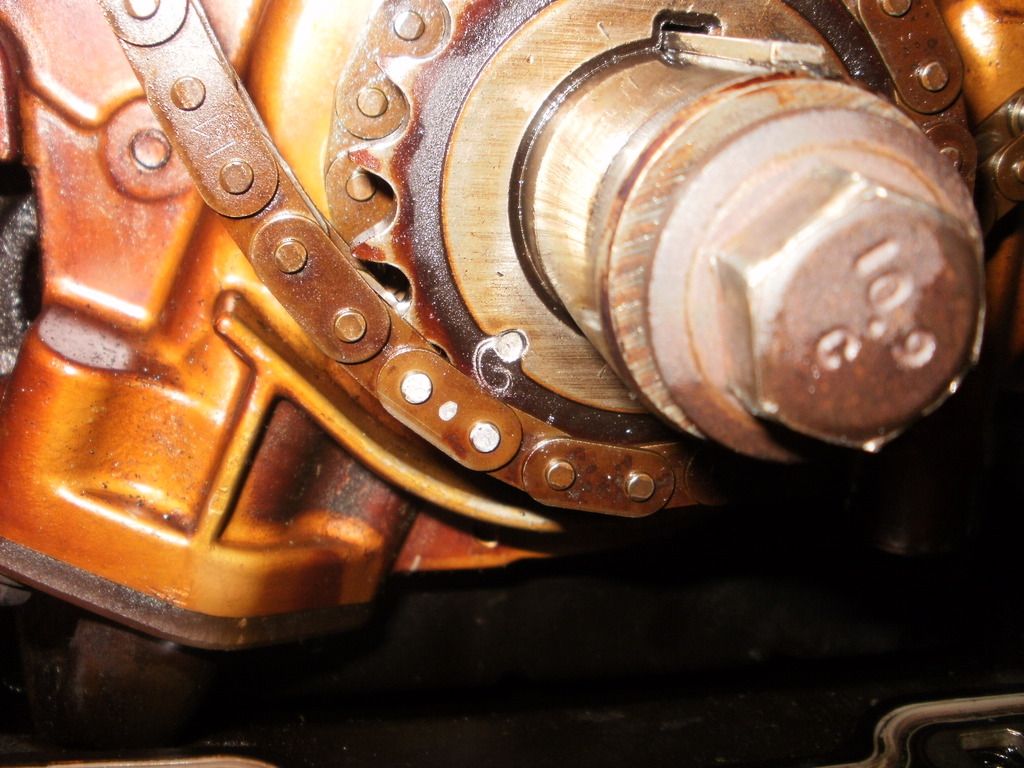
The guides had minimal wear so they were reused.
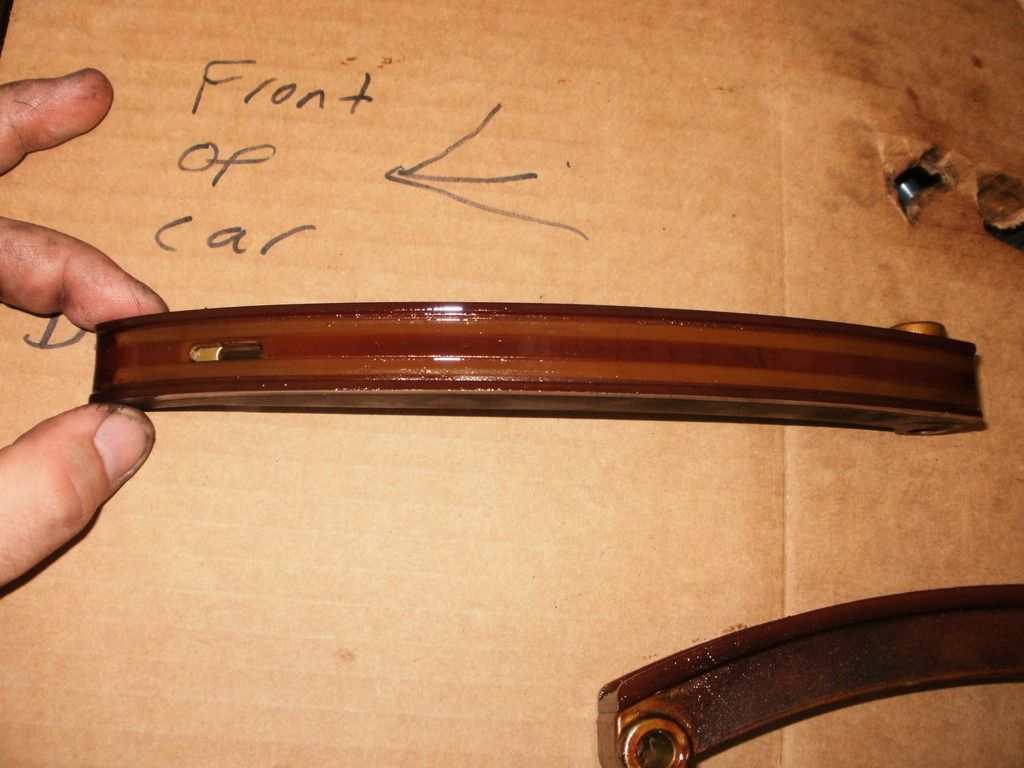
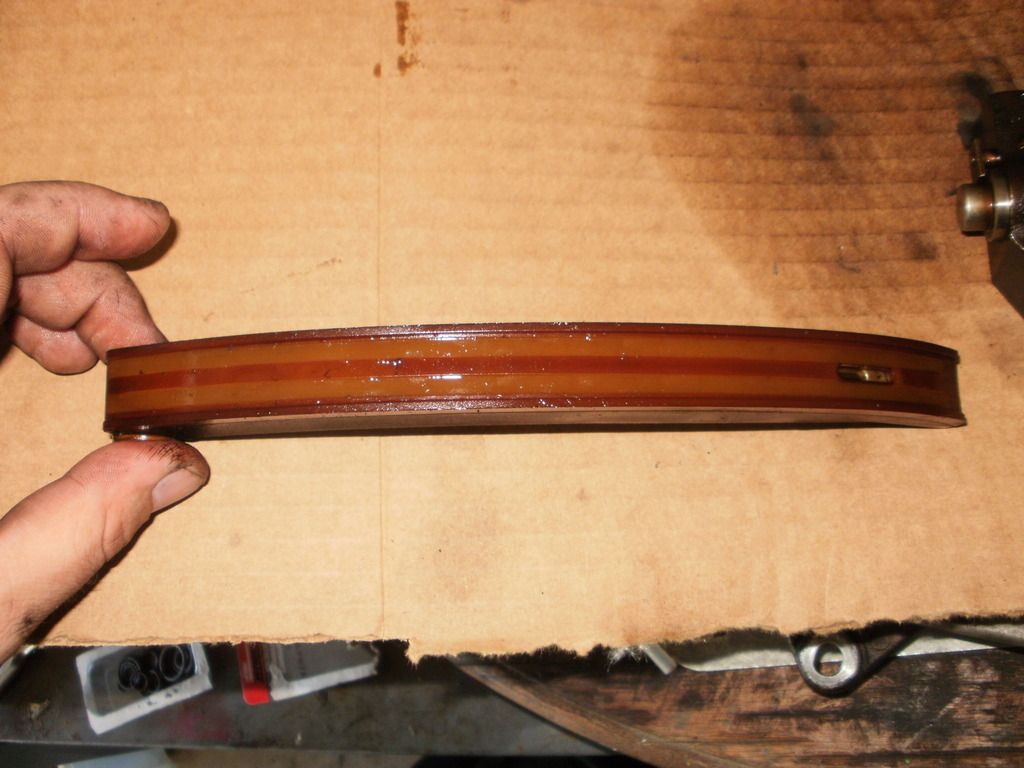
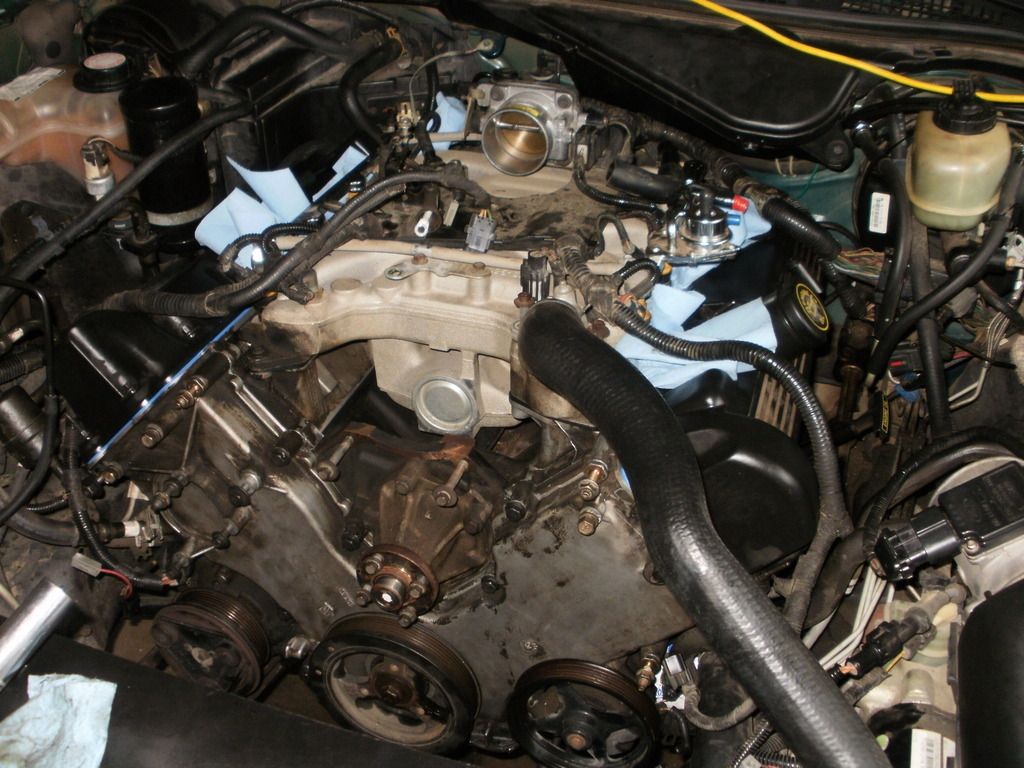
Heads back on and timing set reinstalled. The heads can be installed in the car with the brake booster, wiper motor, and evap box still in place, but you have to install the heads with the lower back bolt already in the head. We used a pair of needle nose vice grips to hold the bolt from falling below the deck surface.
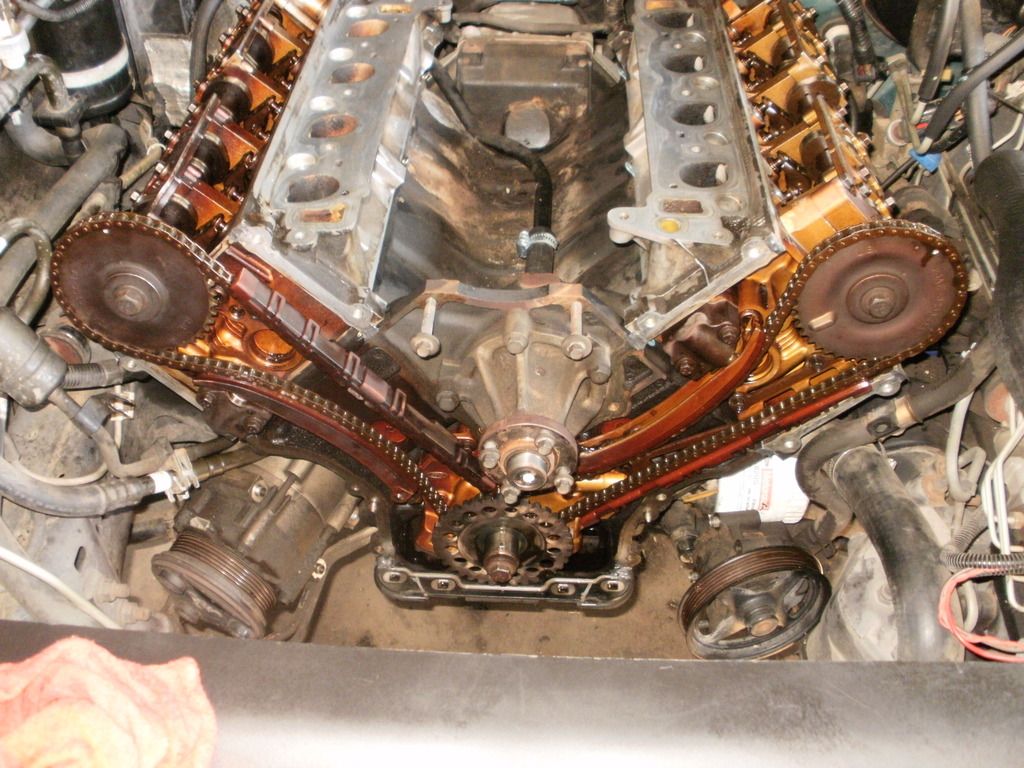
Getting closer. I also installed new plugs and changed the oil. There was a lot of water in the oil from pulling the heads.
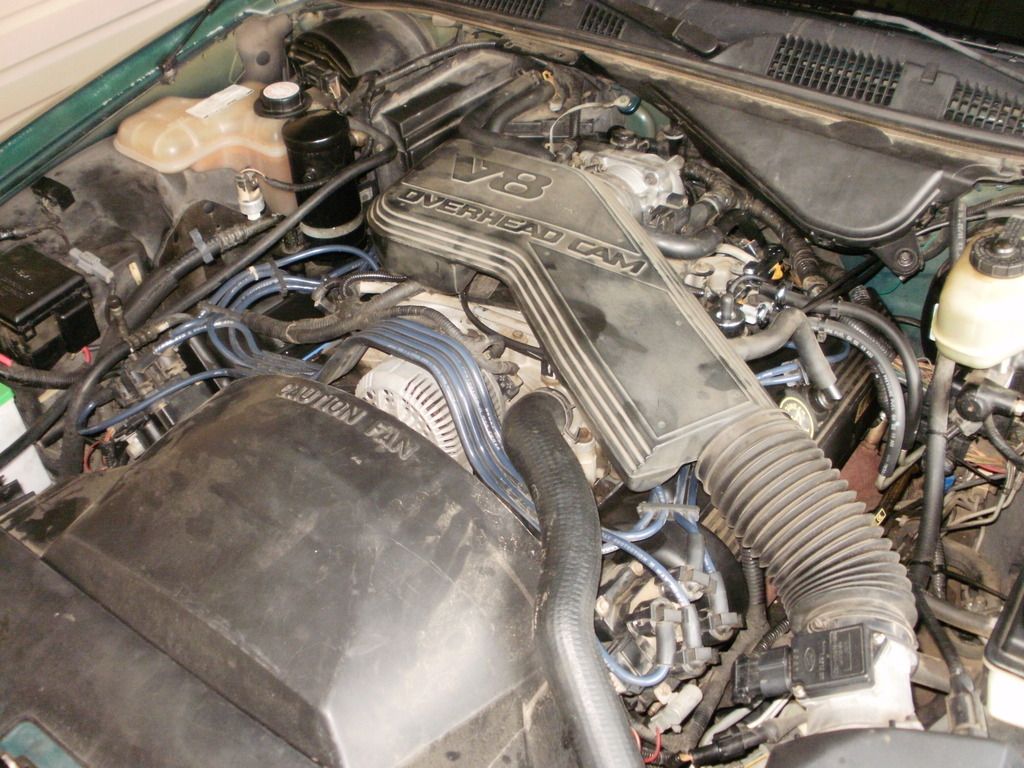
Back together and running today. I drove it around a bit today and everything seems to be fine so far so good!


Got the seals in the driver's head replaced, and then it all went downhill from there. All of the old seals were like hard plastic so they were definitely shot. So I was getting the rockers out of the passenger side head, and my Dad was turning the motor over with a breaker bar to get the cam lobes out of the way so I could them out easier, and the motor just stopped turning right after I got the last rocker out of the passenger head. The first thing that came to mind was piston to valve contact, but we hadn't reinstalled the rockers on the driver's side yet so all of the valves were closed. So then we started eliminating possible causes, pulled spark plugs, removed starter in case it was stuck, put it in neutral to make sure it wasn't the torque converter stuck, cracked open the timing cover to make sure it wasn't the cams or chains stopping it from turning. Then we removed the timing chains and it didn't change anything. The cams were spinning freely, but the crank still wouldn't turn so we were like

Well, the next step was to pull the heads, and that's when the problem became apparent. These pics were after I cleaned the chunks of carbon out of the cylinders. I'm guessing somehow when we were airing up the cylinders it knocked some big chunks of carbon loose, and it got jammed between the head and the piston on cylinders 3 and 5. You could see where the piston was smashing the carbon. It was like the engine was trying to make charcoal briquettes in the cylinders. After the heads were removed the engine turned just fine!


Crosshatching is still there.


The combustion chambers.


The heads after cleaning with a wire brush in a drill. I used the old head gasket as a guard for the deck surface. I cleaned the pistons also, but I forgot to get a pic of it. I replaced the valve seals on the passenger head with it off the car, and reinstalled the rockers before putting the heads back on.

Reassembly.
Picked up a head gasket set and new head bolts.

Replaced the under intake heater tube hose. Just cut the crimp off and install new hose and clamps.

Timing the 4.6 is easy. Just mark the two links farthest away from each other on each chain with a paint pen. It helps if you can find the copper links like I did, but you don't have to. Paint a mark on the timing dot of each cam gear and each crank gear. Put the engine at TDC on number 1. Then spin the crank clockwise until the keyway is at 12:00. This is called "safe mode." It gets the pistons down in the cylinders just enough that the valves can't hit while you turn the cams. The driver side chain is done first and passenger side chain second. The crank gears go on back to back. Line up the dots on the crank gear with the marks on the chain. Then route the chain against the flat chain guide and up to the cam gear. Then turn the cam gear until the dot on the cam gear lines up with the dot on the chain. After that, install the chain on the cam gear and install the tensioner guide. Bleed down the tensioner in a vice. Release the ratchet mechanism with a small flat screwdriver and push it into the tensioner. Install a small paper clip in the retaining hole to keep the tensioner down. Then install the tensioner. Repeat for the passenger side. Double check everything and remove the paper clips to release the tensioner. Spin the engine at least 2 times clockwise with a breaker bar on the crank bolt to make sure no piston to valve contact occurs. I spun it 4 times.


The guides had minimal wear so they were reused.


Heads back on and timing set reinstalled. The heads can be installed in the car with the brake booster, wiper motor, and evap box still in place, but you have to install the heads with the lower back bolt already in the head. We used a pair of needle nose vice grips to hold the bolt from falling below the deck surface.

Getting closer. I also installed new plugs and changed the oil. There was a lot of water in the oil from pulling the heads.

Back together and running today. I drove it around a bit today and everything seems to be fine so far so good!


Comment